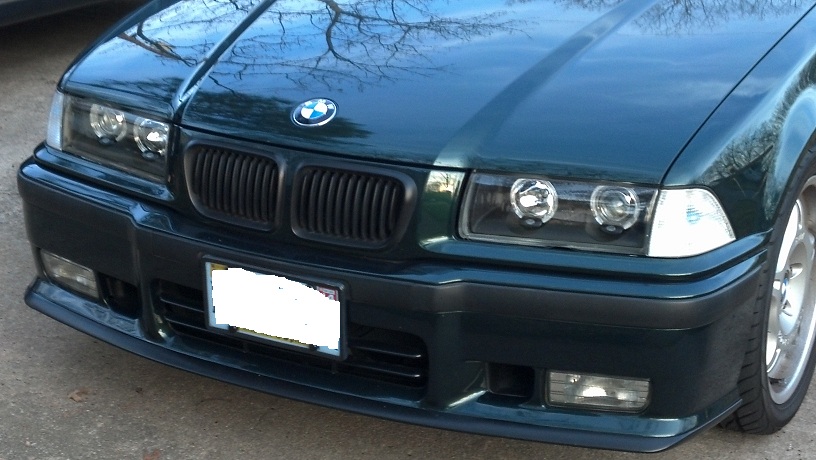
Winter 2022 E46 M3 DIY
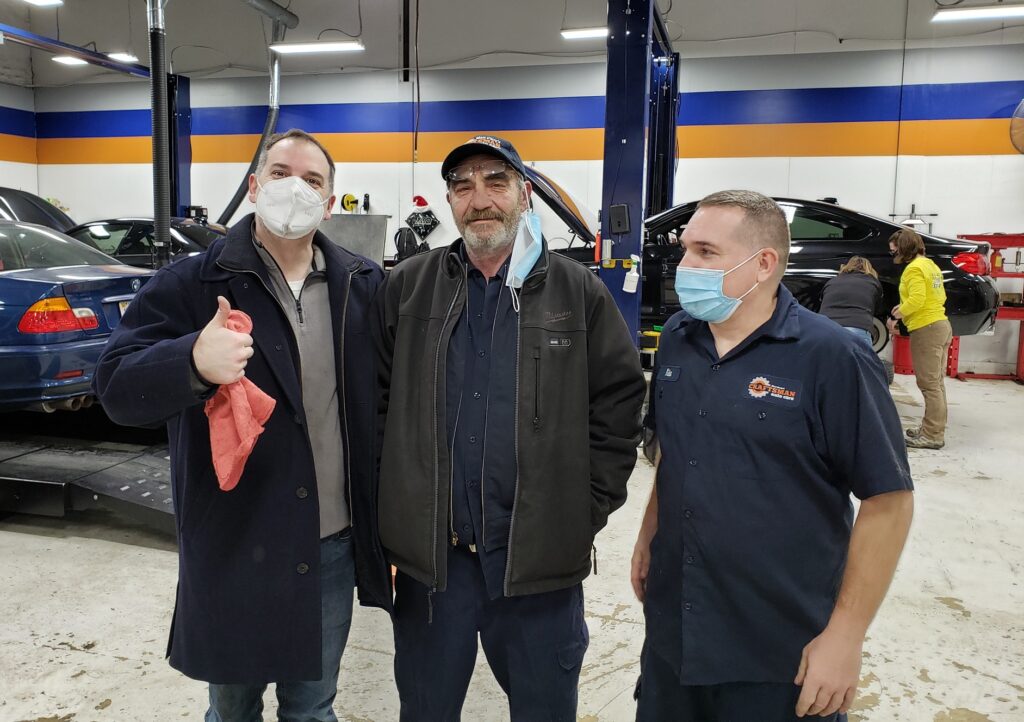
This weekend I attended another DIY event organized by the National Capital Chapter of the BMW Car Club of America. Craftsman Auto Care, owned by Matt and Judy Curry, generously hosted the club at their Merrifield location.
I took my 2006 M3 and a short list of maintenance items, nothing too ambitious. It had been over a year since I had changed the oil and filter, the parking brake wasn’t holding very well and my driver side mirror was starting to degrade at the edges. Pretty straightforward stuff but of course I did my homework and reviewed some videos for the parking brake and mirror.
For the parking brake job I was greatly aided by this video from The 50s Kid, a good source of BMW DIY info. His car is a 2002 330i not an M3 but they are both E46s and the information was accurate. Unfortunately I was not able to turn the spring mechanisms behind the rear wheels as easily as the Kid did in his video. Luckily a helpful tech named Mark helped me out.
He suggested that tightening the cables at the brake – the Kid loosens them in his video before adjusting the springs – would be enough on its own to make the parking brake hold better. I tried that and it did improve things somewhat. Not as good as the “two clicks” on the Kid’s video but better, and I can always tighten the bolts down more in the future.
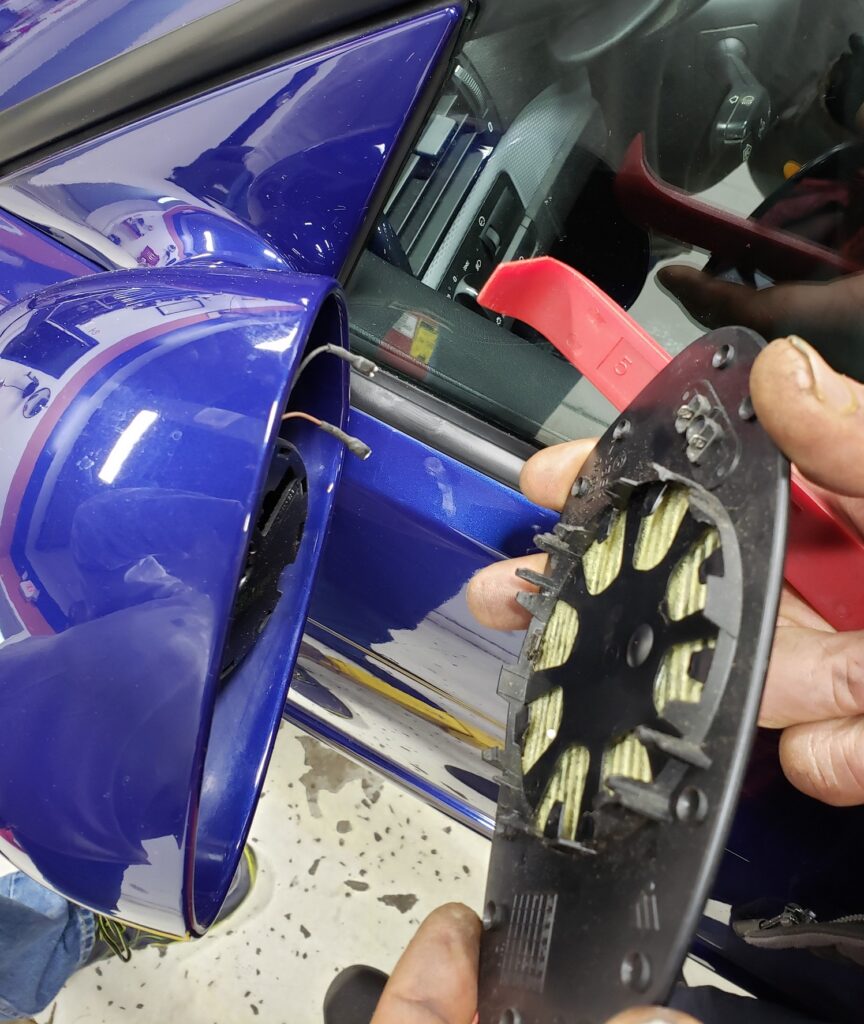
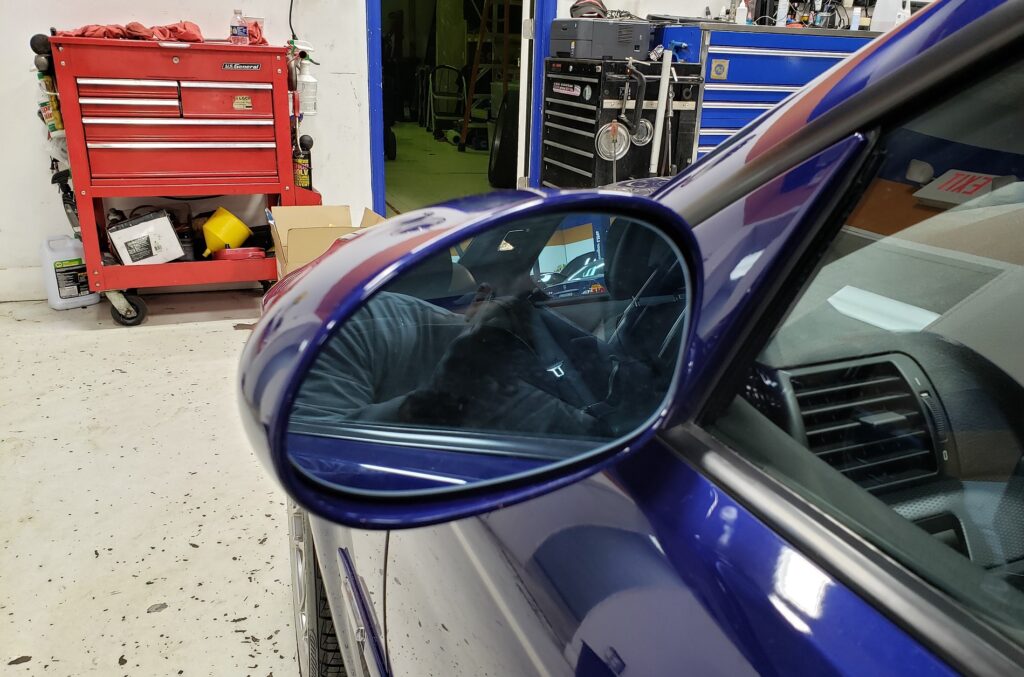
The best video I found for the side mirror replacement was from the Thic Garage. His E46 M3 DIY was on an earlier model however, and BMW changed the mirror design for the late production 2005s and 2006s. There is no small notch that you need to unlock, on the later models you simply pull the mirror out. Also, fortunately for me BMW moved the wires for the heated mirror function closer to the car, so they reach the terminals on the replacement glass.
If you watch the TG video, on earlier models the wires are on the far end of the mirrow, and cannot reach the terminals on the replacement glass. I was glad that in this case a mid-production BMW quirk helped rather than hindered the replacement.
I was still a little hesitant to simply pull the glass out, fearing I’d break something. But it really was that easy, as was putting the replacement glass in.
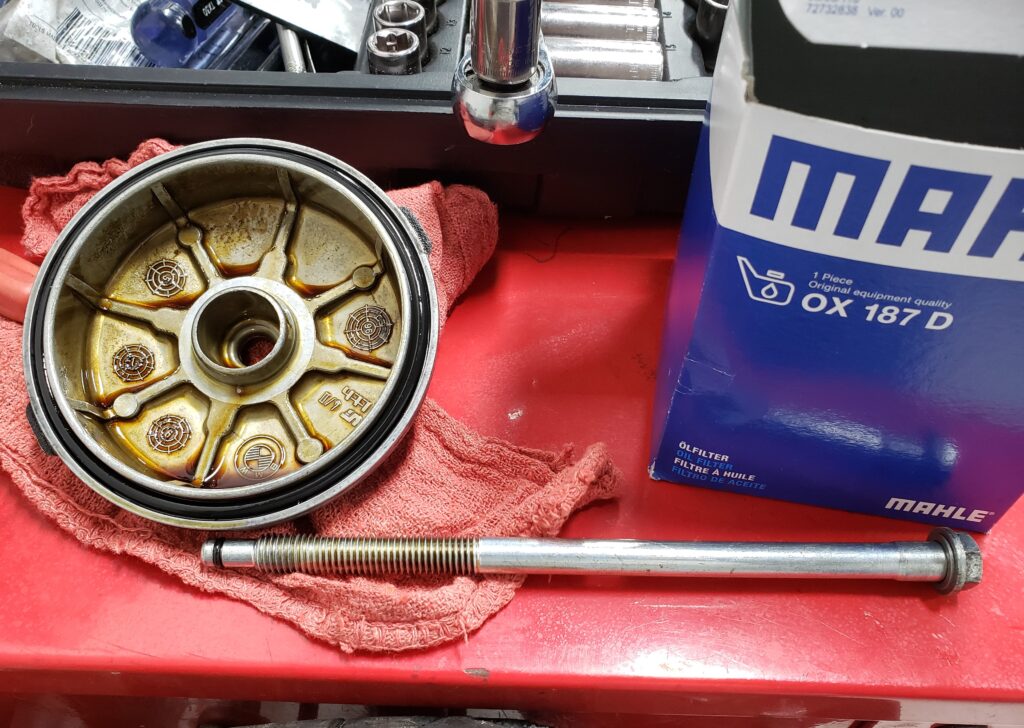
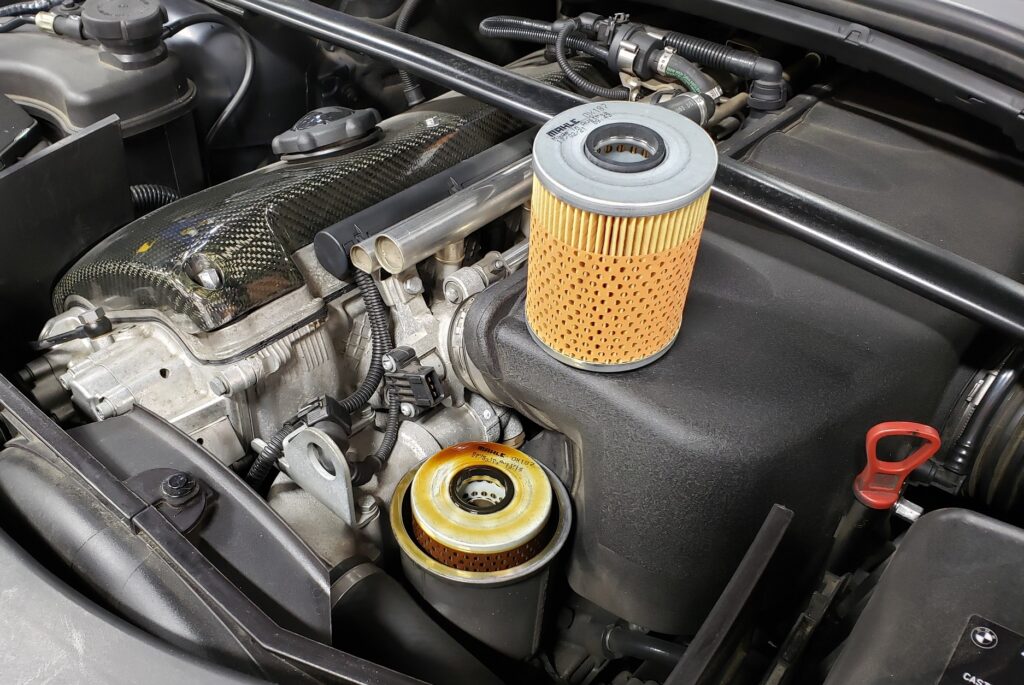
I talked about the E46 M3 DIY process for an oil change when I last did it at home in October 2020. (Boy was it great to have a lift again!) I didn’t mention the crush washers and the rubber gaskets that come with the replacement filter. There is one large gasket for the oil filter housing, one tiny gasket for the housing bolt, one crush washer for the bolt and one for the oil plug underneath the car. Forget any of those and you’ll soon have a leak.
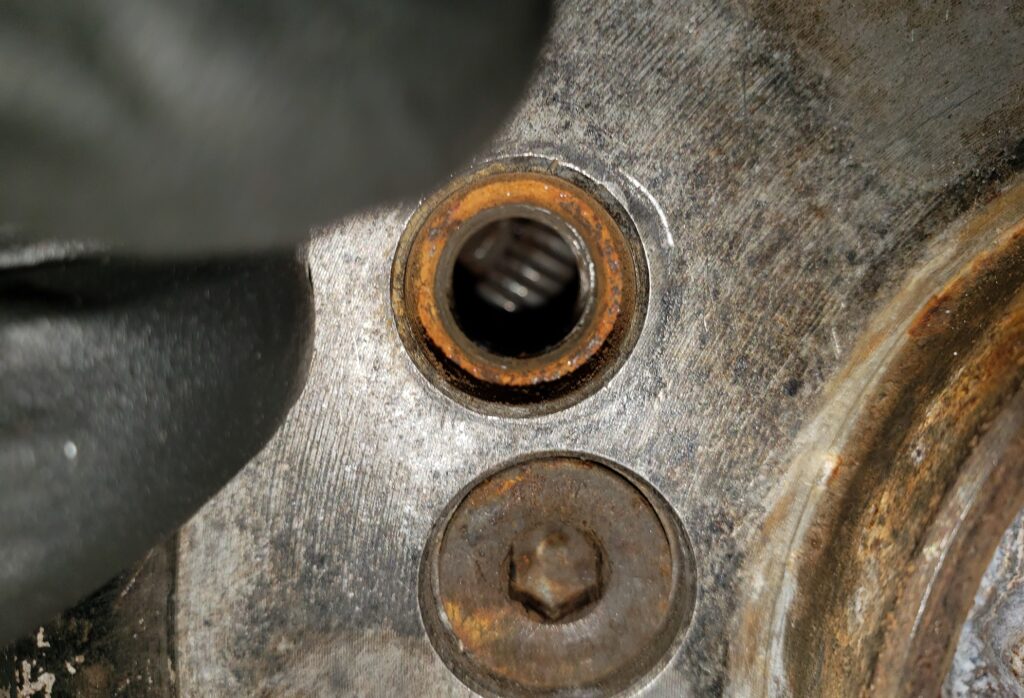
While my car was up in the air Mark was kind enough to do a quick inspection for known E46 issues. He said that the rear trailing arm bushings (RTABs) look good, and there is no sign of any subframe cracks. Everyone there was friendly and happy to help. The club is lucky to have sponsors like the Currys.
DIY events are taking a winter break and will start up again in April. I hope neither of my M cars needs anything major before then.