This weekend I replaced the front brake rotors and pads on my 2006 BMW M3. None of the components were totally worn and the brake sensor warning was not illuminated, but the rotors were original to the car and the pads were at least five years old.
By my DIY standards front brake rotors and pads are a big job, and I could not have done it without assistance. Benchmark Motors in Columbia, MD hosted the National Capital Chapter DIY event, which are always well organized and take place roughly every other month. Danny the owner of Benchmark and DJ one of the technicians were very generous with their time and counsel. Fellow NCC member Duane S. was a big help, having done this job last year on his E39 530i.
In preparation for the job, a how-to video from Bavarian Autosport walked me through the steps. Their library of videos is a super resource for BMW DIY projects, and being able to watch the entire process helps immensely with ordering the right parts and bringing the right tools. My M3 is a Competition Package, which came with larger and drilled brake rotors. I decided to replace with the same OEM parts, and getbmwparts.com (operated out of Tischer BMW in Silver Spring), helped me do so at an attractive discount.
I did not go with BMW OEM brake pads. They are good brake pads with a lot of stopping power, but they throw off a lot of brake dust. The previous owner of my car had gone in the opposite direction, installing PBR Deluxe brake pads that are extremely low dust, but give up some performance in the process. I decided to replace with Hawk HPS brake pads, which I decided are a good compromise between those two brake pad characteristics.
Instructional videos are a huge resource, but usually there will be a few surprises in any DIY job. The video showed the BMW rotors having one hold down screw per side — the Competition rotors have two, which I should have caught when ordering parts. In addition, the ones I ordered were larger than the existing screws and did not screw down flat against the rotor face. The part number I ordered was correct, so I haven’t figured that out yet. I ended up re-using the four existing screws at DJ’s suggestion, which fortunately were in good condition.
I had purchased a new brake sensor, but based on numerous owner opinions I did not install it. Since the existing brake sensor had not been triggered, it could simply be connected to the new driver side pad. I also did not replace the rubber guide bolt bushings, since they were in good condition and the brake pad wear showed as very even. I did replace all four of the caliper guide bolts.
I’ll probably do the rear brake rotors and pads in the spring. It’s fantastic to be able to tackle maintenance projects like these in a professional shop surrounded by other BMW enthusiasts. The DIY events alone are worth the price of BMW CCA membership. They enrich the ownership experience of my out of warranty M cars, while saving me a lot of money as well.
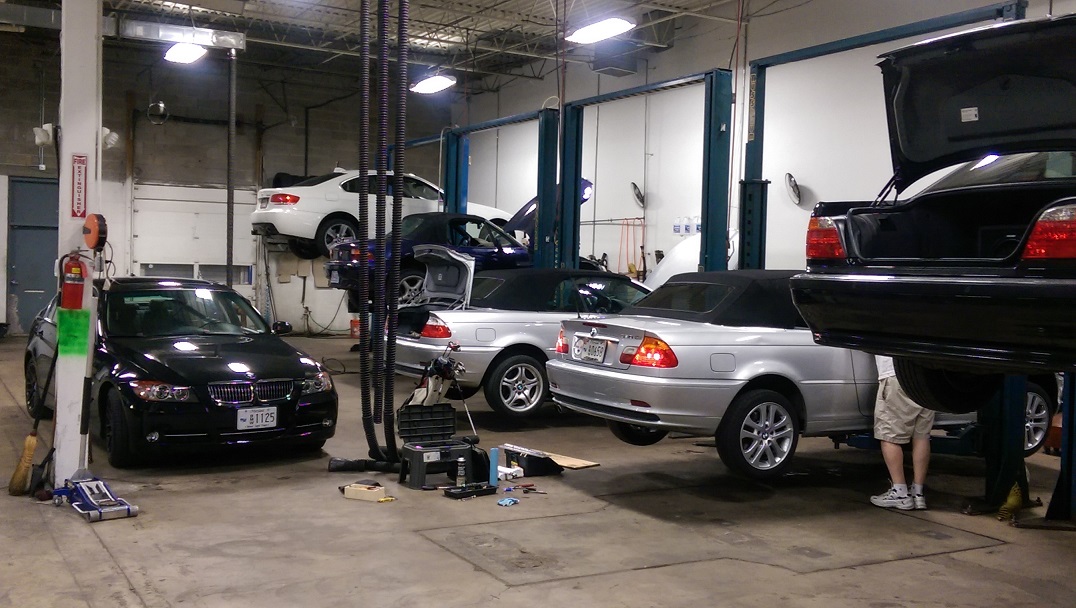
Inside Benchmark – nice facility
Wheel and caliper removed
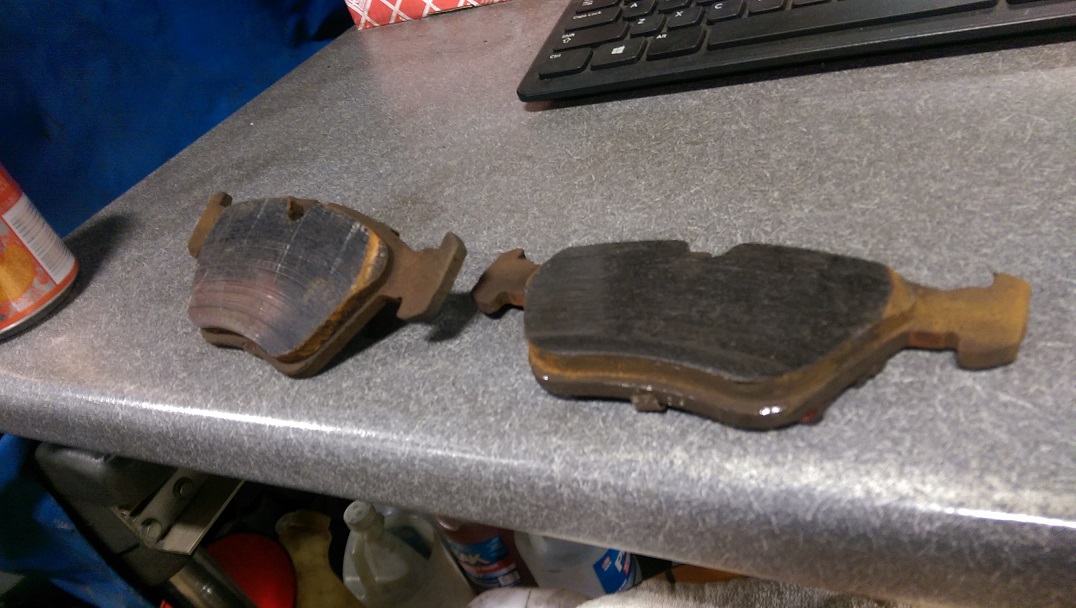
Old pads – not totally worn but time to replace

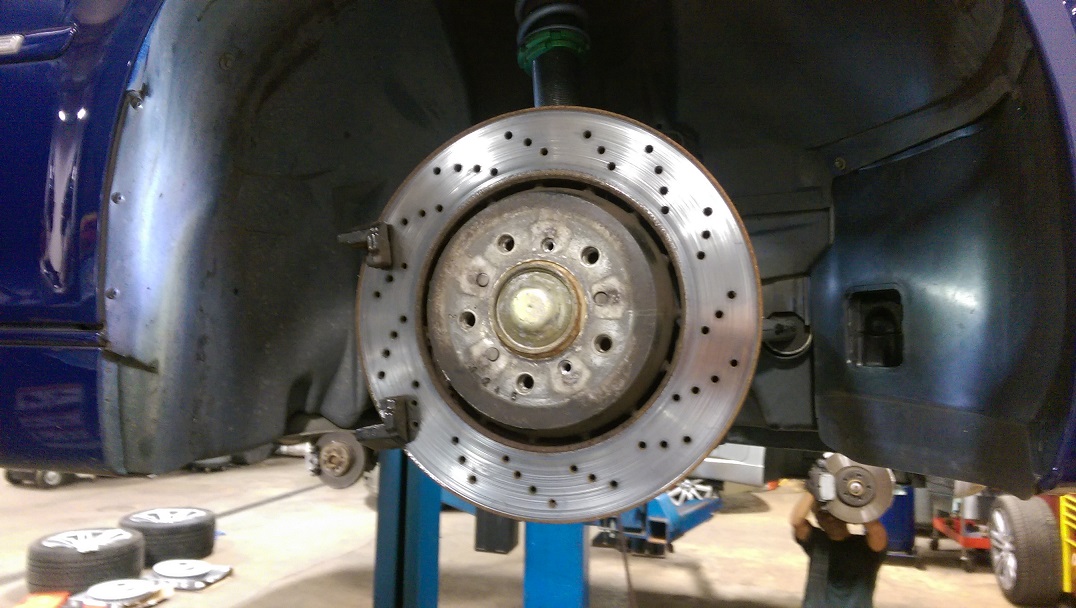
Stripped down to hub
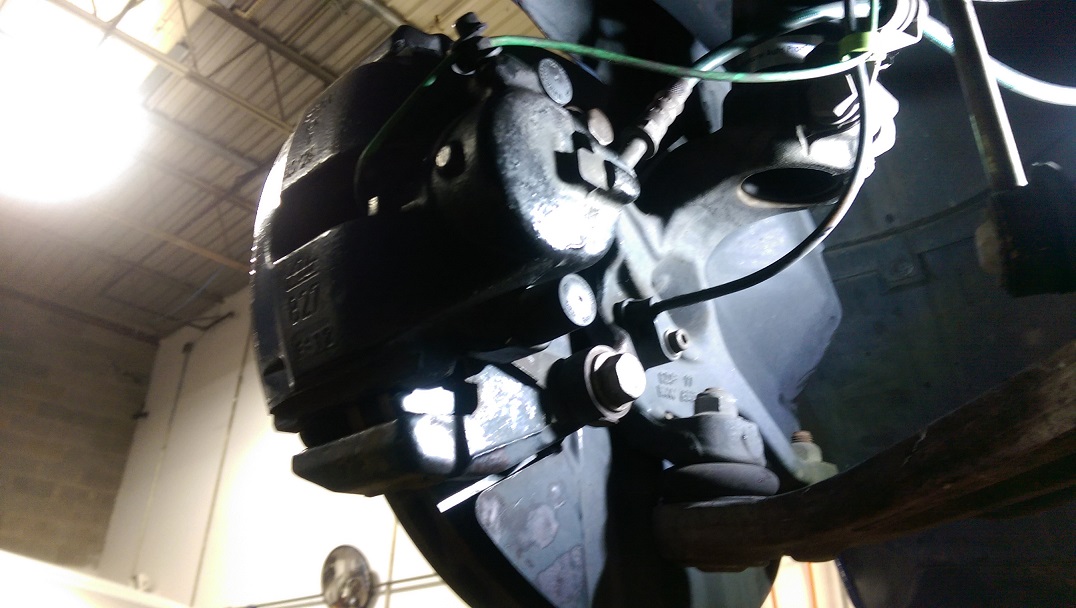
Lousy phone pic, but see green sensor wire going through rear of caliper
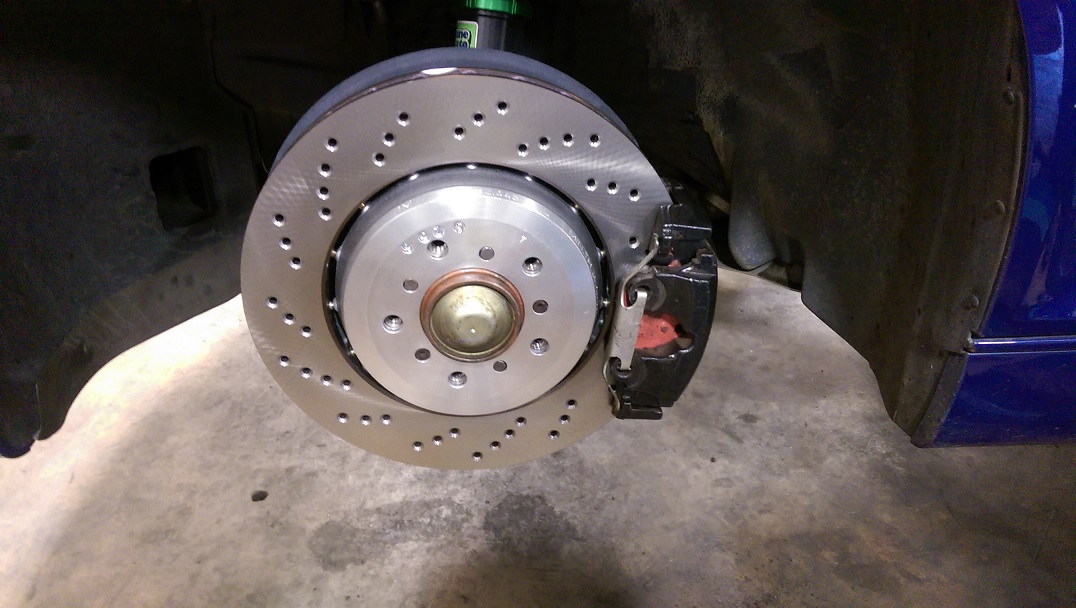
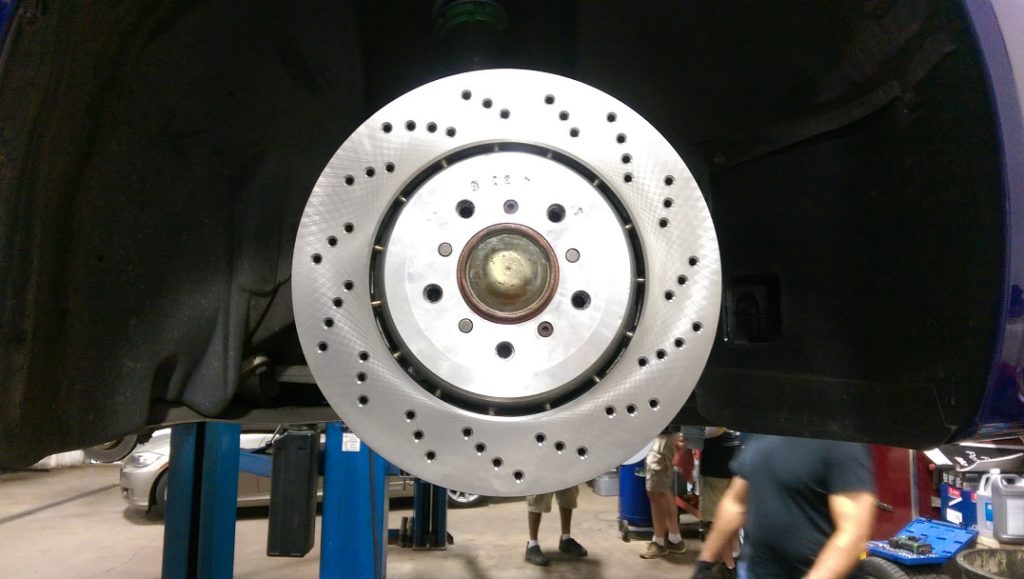
All done – bracket and caliper back on with new rotor and pads