Last week at a club DIY event I installed a Vorsteiner rear diffuser on my E46 M3. I had thought about getting one for a while. But the high cost of a quality piece pushed it down the priority list. That changed after a conversation with a fellow National Capital Chapter member who had no use for his E46 carbon fiber diffuser.
Fellow member Doug is a serious driver with an impressive stable of M cars. He originally bought the diffuser to install on his Phoenix Yellow Dinan S2-M3, an incredible car. But he never got around to it and then sold the car. He sold it to me for less than he paid back in 2012, and they have since gone up substantially. That’s when you can find them – Amazon currently shows the diffuser as unavailable.
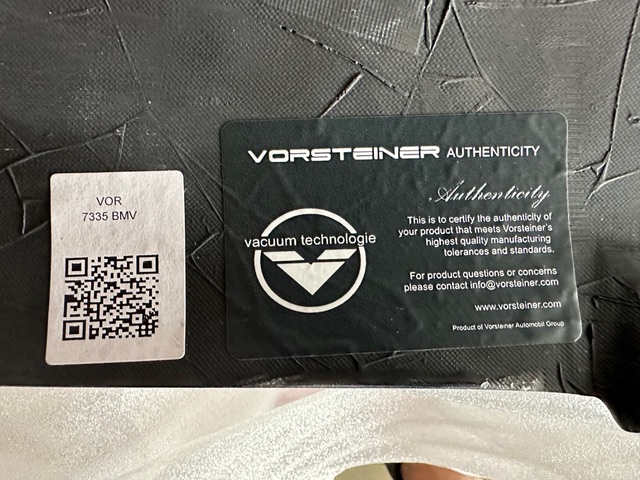
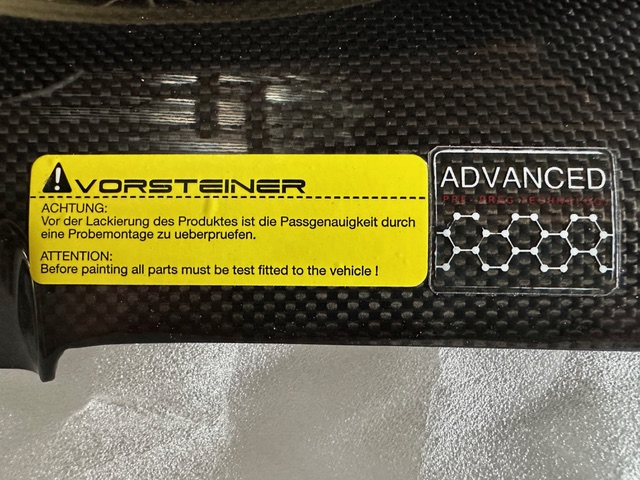
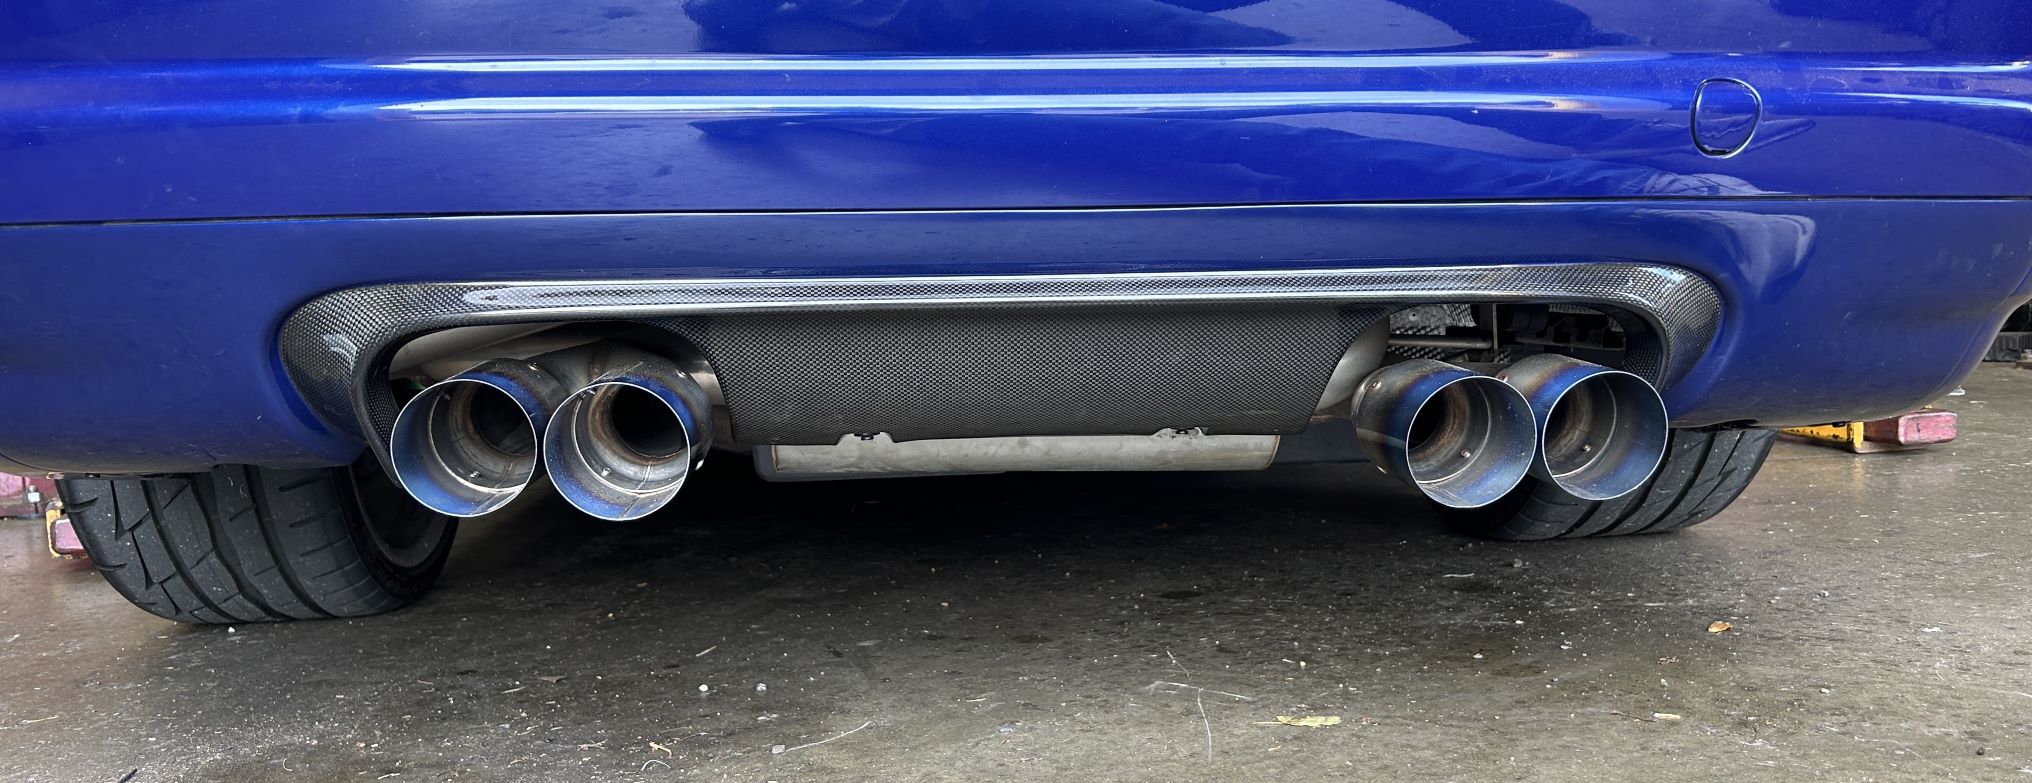
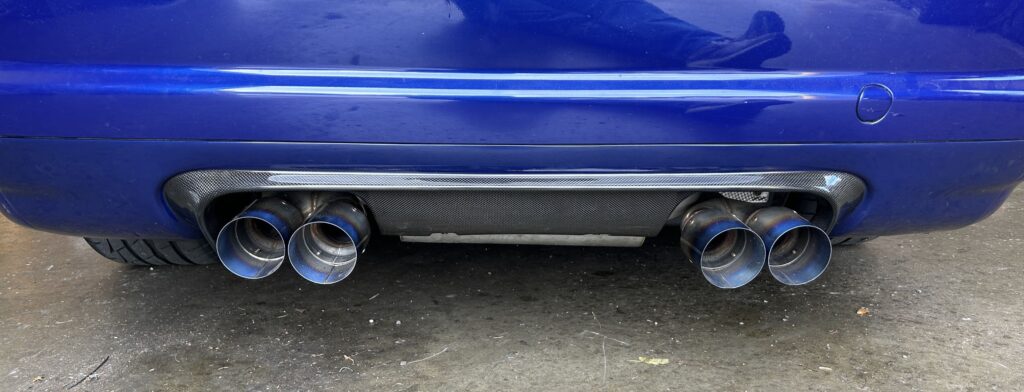
There are a lot of low-quality diffusers in the market. Now I had one from Germany, but I needed to get it painted. While some owners install the entire diffuser as is, they look much better IMO when the outside areas are painted body color while the section around the exhaust tips remain carbon fiber – like this (not my car:)
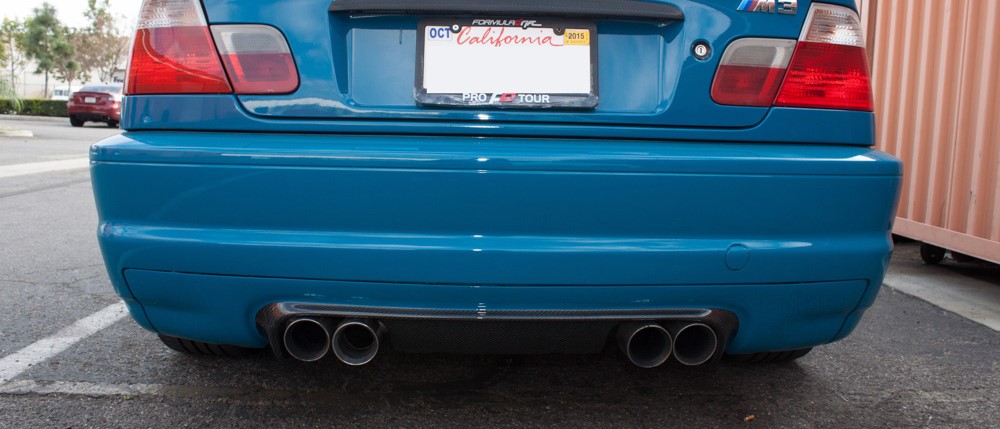
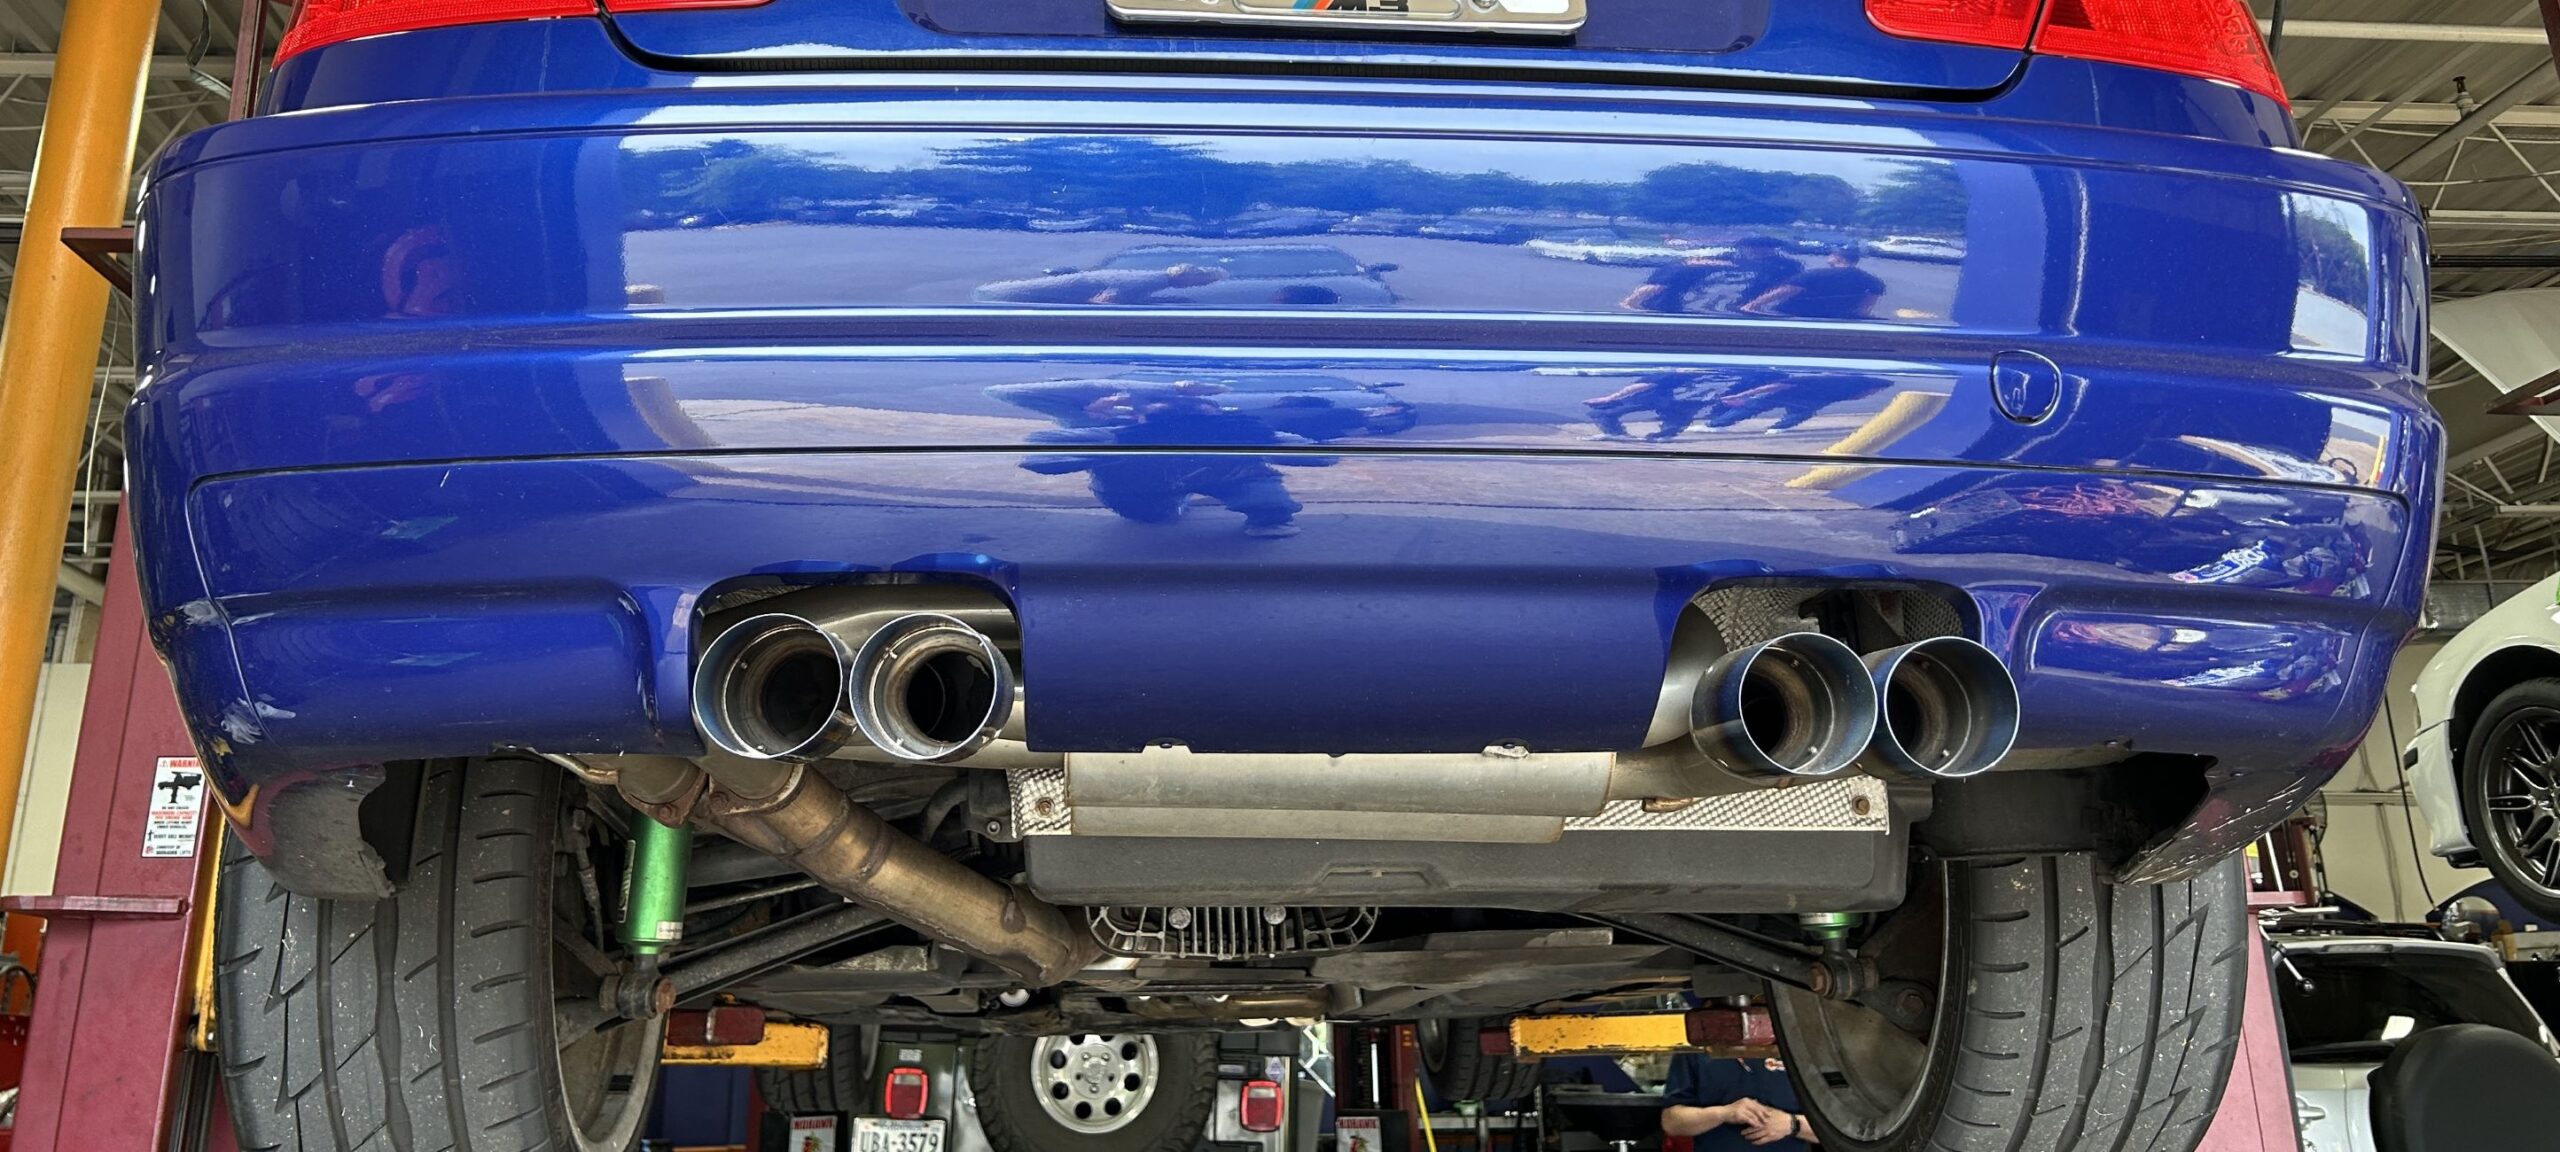
Fortunately, I know an excellent paint guy who is mobile and comes to you. He did a fantastic job of painting the outer portions of the diffuser Interlagos, the BMW name for my M3’s dark blue/purple. The E46 rear diffuser is held in place by clips and six push pins. Swapping it out looked to be easy.
Like many DIY jobs this one had some complications. The clip on the far left, driver side of the diffuser wouldn’t quite clip into place. We ended up having to file down the inside edge to make it fit. More challenging were the cut outs in the bottom of the diffuser for the push pins. While the openings lined up perfectly, the holes in the Vorsteiner diffuser were much smaller than the stock piece. The push pins could not fit through.
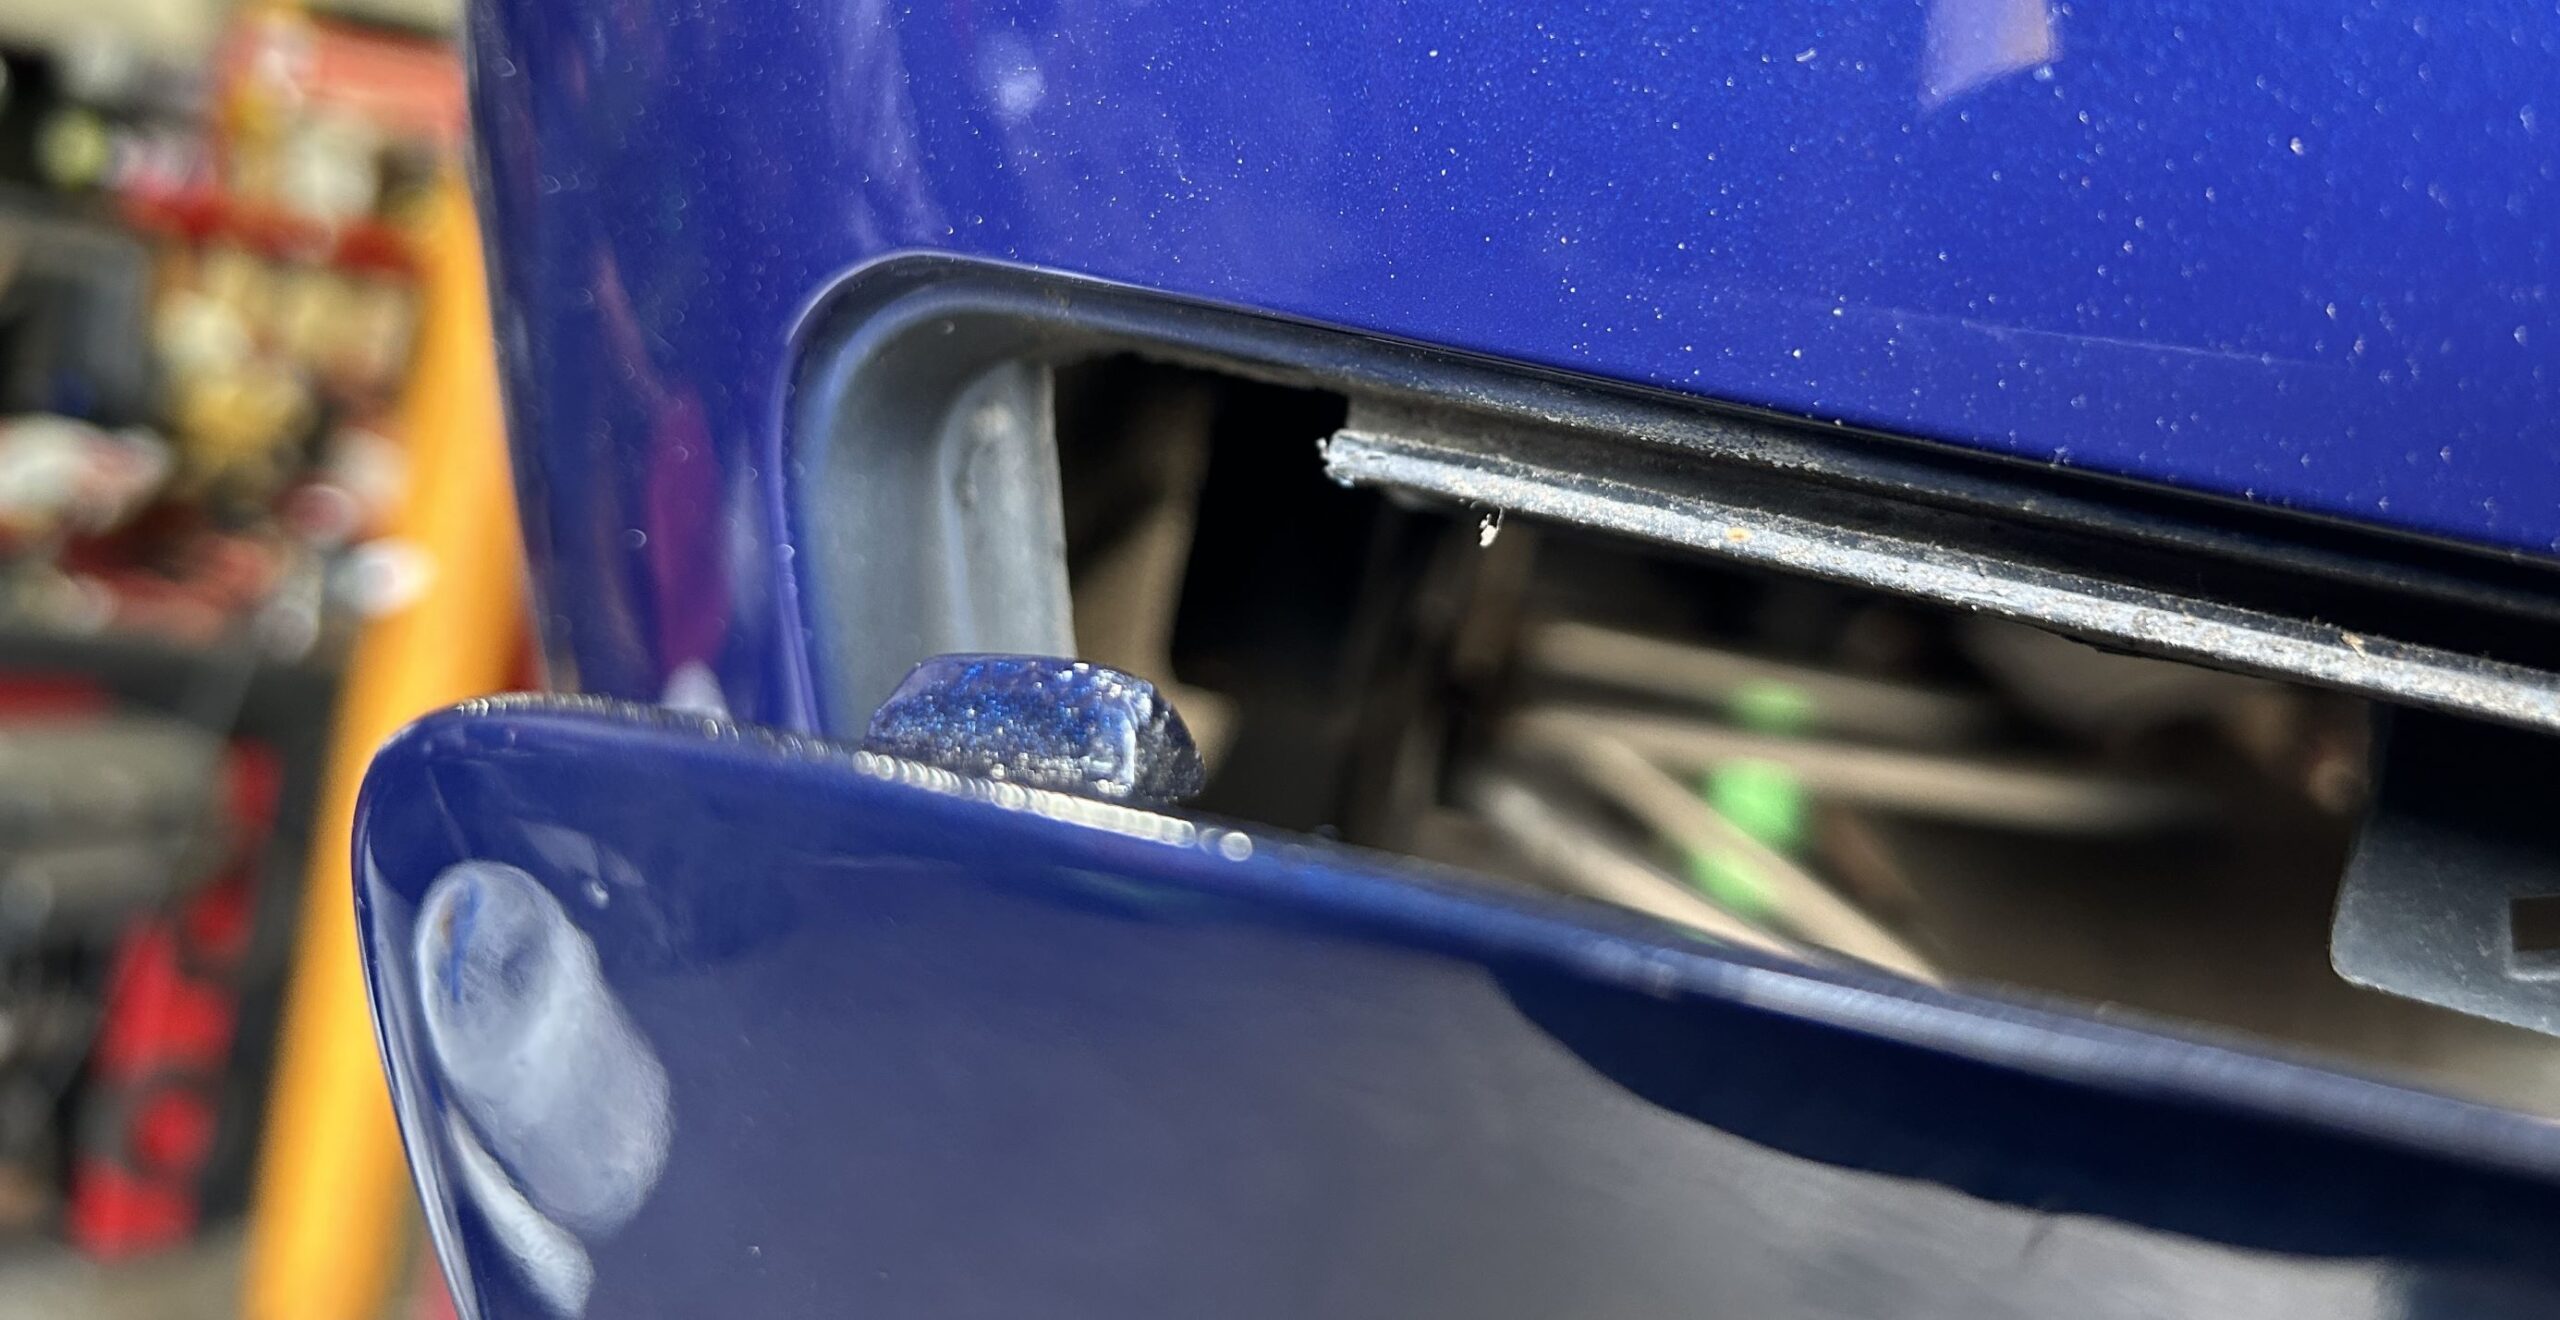
Our host for the DIY was the Alexandria location of Craftsman Auto Care, a great friend of NCC. They lent me a drill and I very carefully widened the openings, being very careful not to crack the carbon fiber. Eventually I enlarged them enough to get the push pins through.
It’s common for a DIY project to reveal other items that need attention. While installing the new diffuser I noticed that the right passenger exhaust was hanging slightly lower than the left and had more play to it. The rubber hanger on that side has deteriorated and needs replacing. That might be the next DIY job. Luckily based on videos showing the replacement my new Vorsteiner rear diffuser won’t have to come off again.
I may just have Craftsman do the job. The M3 has been to the last two DIY events, and the M5 needs some attention.