E39 M5 Headlight Retrofit
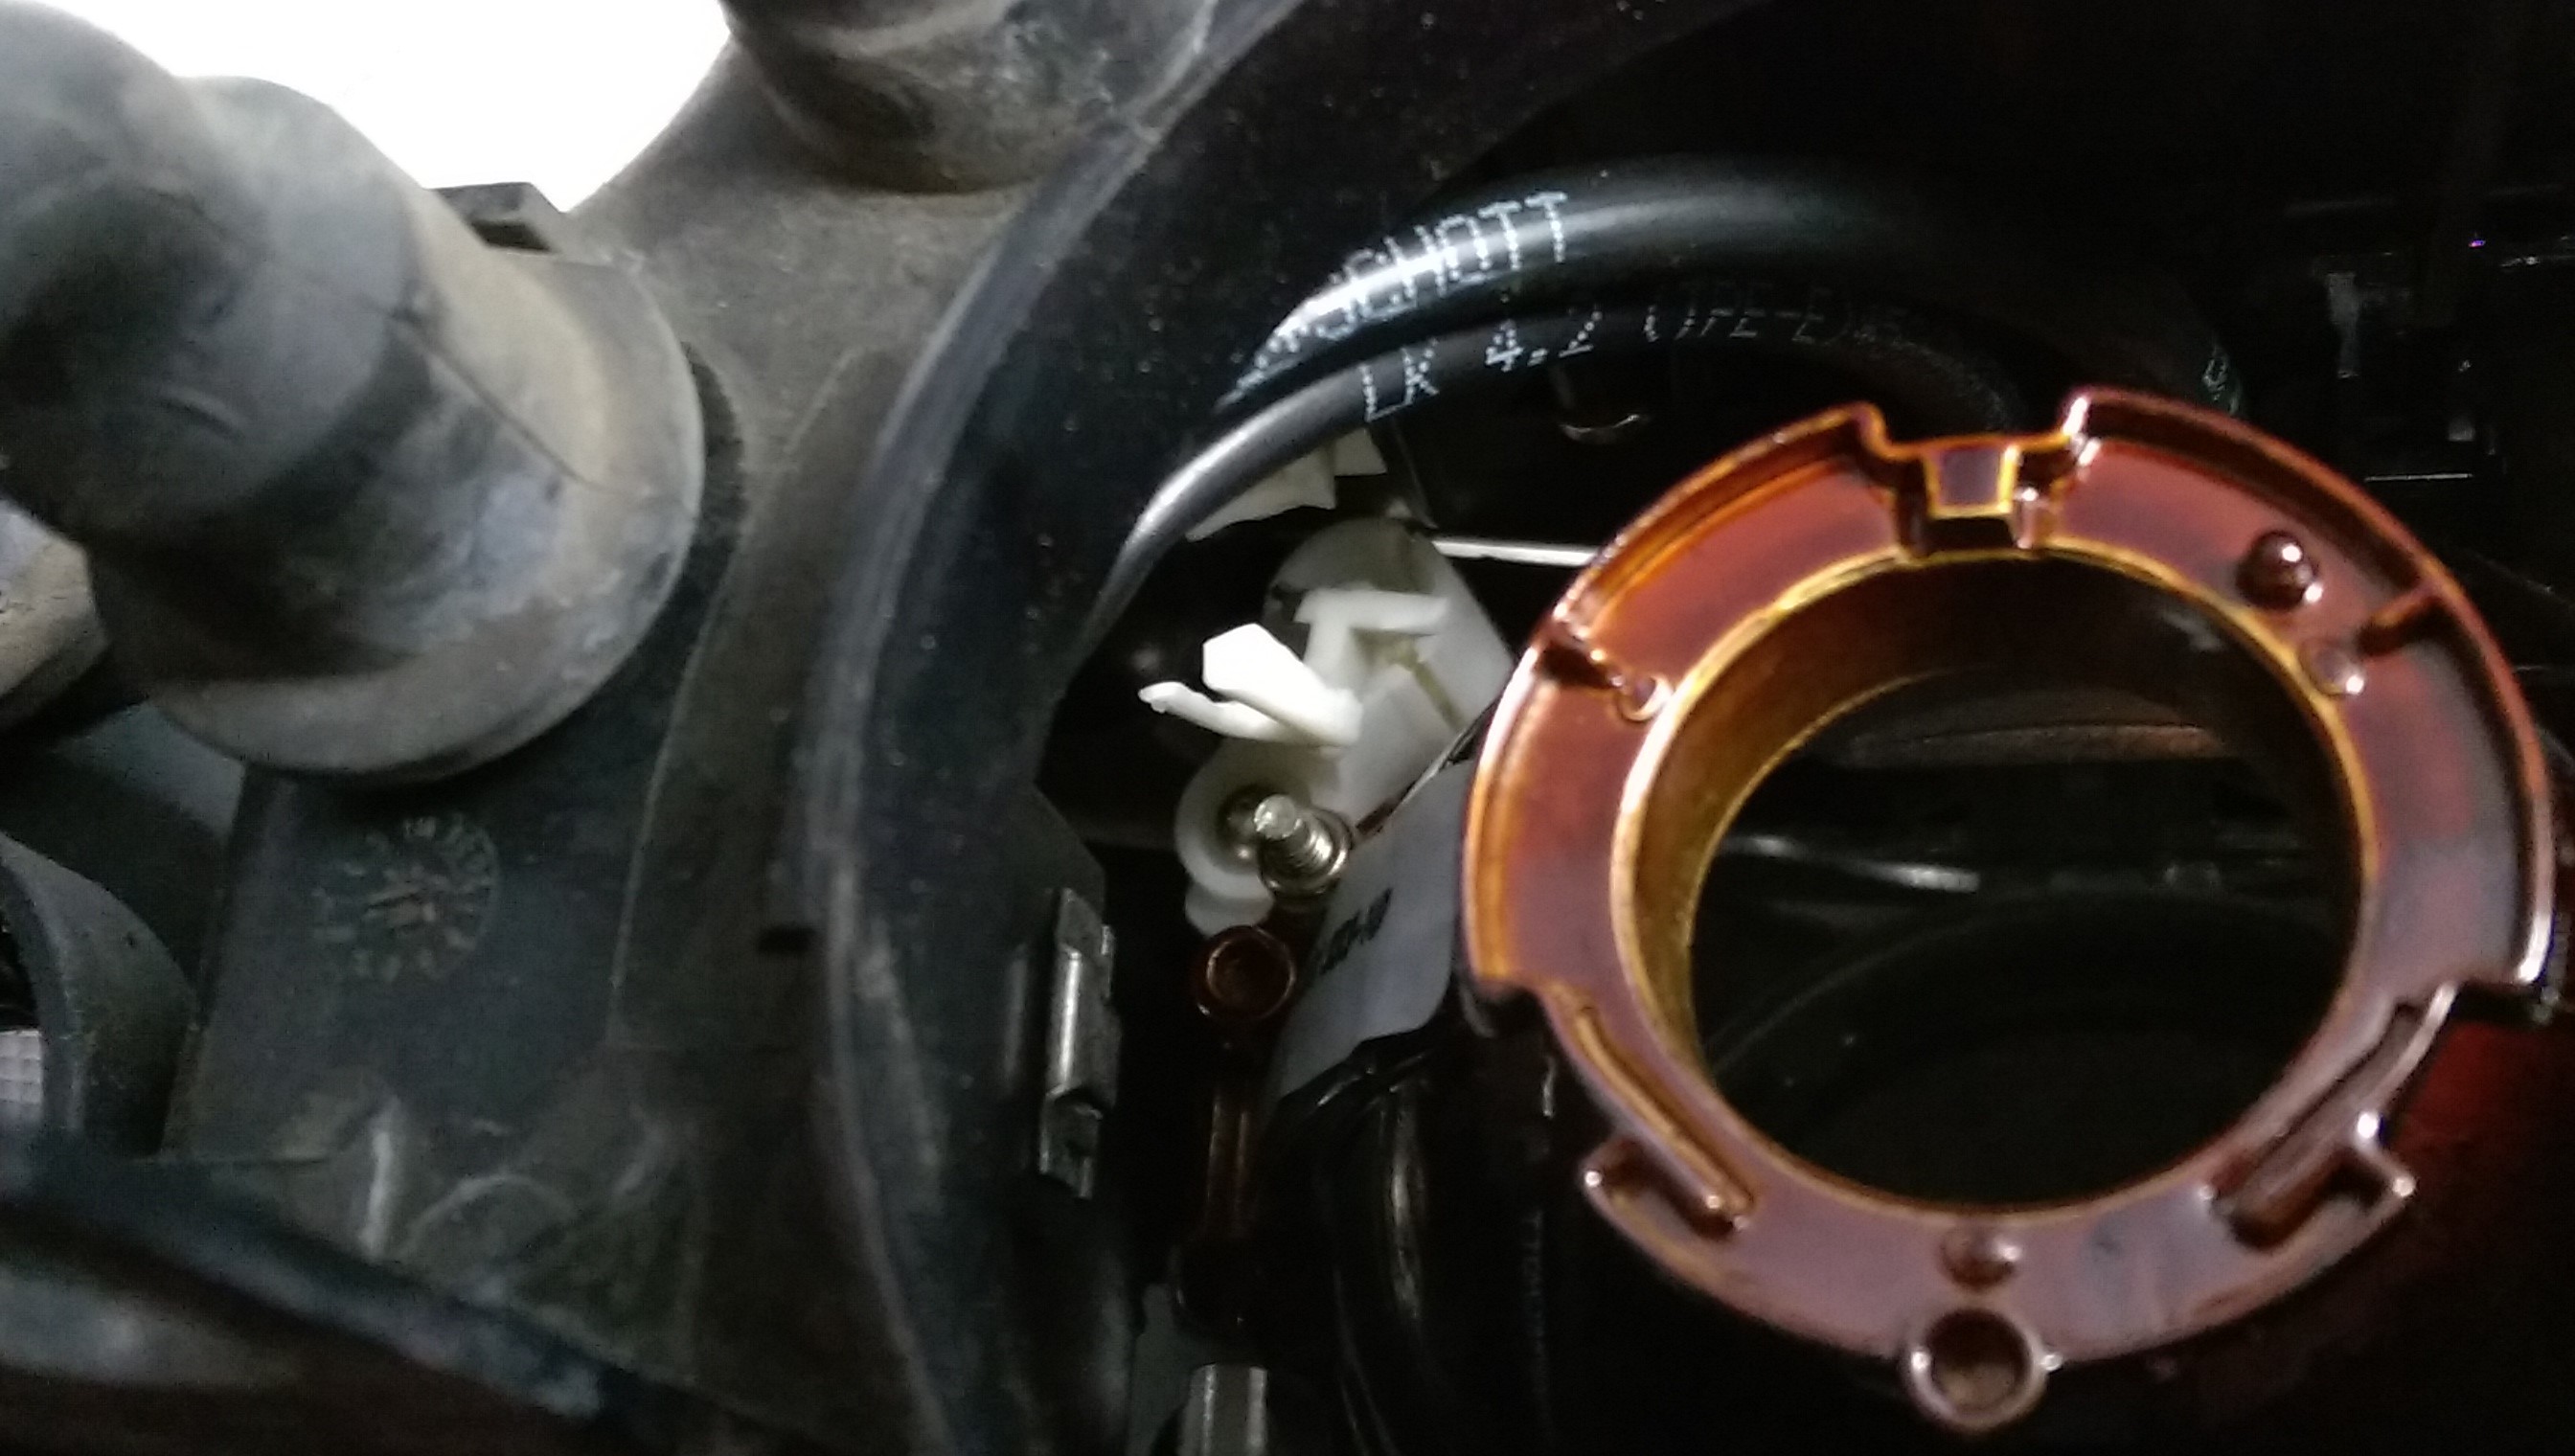
Last week I completed a headlight retrofit project on my 2002 BMW M5. The adjusters inside the headlights were broken, causing the lights to point too low. Since I needed to replace the adjusters, I decided to also upgrade to more modern headlight projectors.
Some background on why I went for a headlight retrofit. My car came with headlights built by the OEM supplier Hella, featuring HID low beams and halogen (traditional bulb) high beams. The company has been providing lighting to BMW for many years, and they produce high-quality headlights. But the adjusters inside the headlight assembly are made from plastic, and they inevitably break.
A new set of genuine Hella headlights cost $1,400 – $1,500. There are cheaper aftermarket options, but the quality is poor and I wanted the exact look and fit of original equipment. If I bought a new set I’d still be getting adjusters that would eventually break again. Plus the design of the headlights is almost 20 years old. They were cutting edge at the turn of the century, not so much today. Most HID headlights today are what is called Bi-Xenon, handling both low beam and high from the same projector. (Now the cutting edge is LED and laser technology for headlights, but we’re not going there.)
So I researched my headlight retrofit options. The concept of inserting improved adjusters and more modern projectors into my existing headlight assemblies was intriguing, with the added bonus of saving hundreds of dollars. The first thing I had to determine was whether it was possible to bake open my headlights in the oven – yes, that’s the way you do it. There was a date, sometime around the middle of 2002 and never officially confirmed by BMW of course, when a change was made in the adhesive used to seal the headlight assemblies.
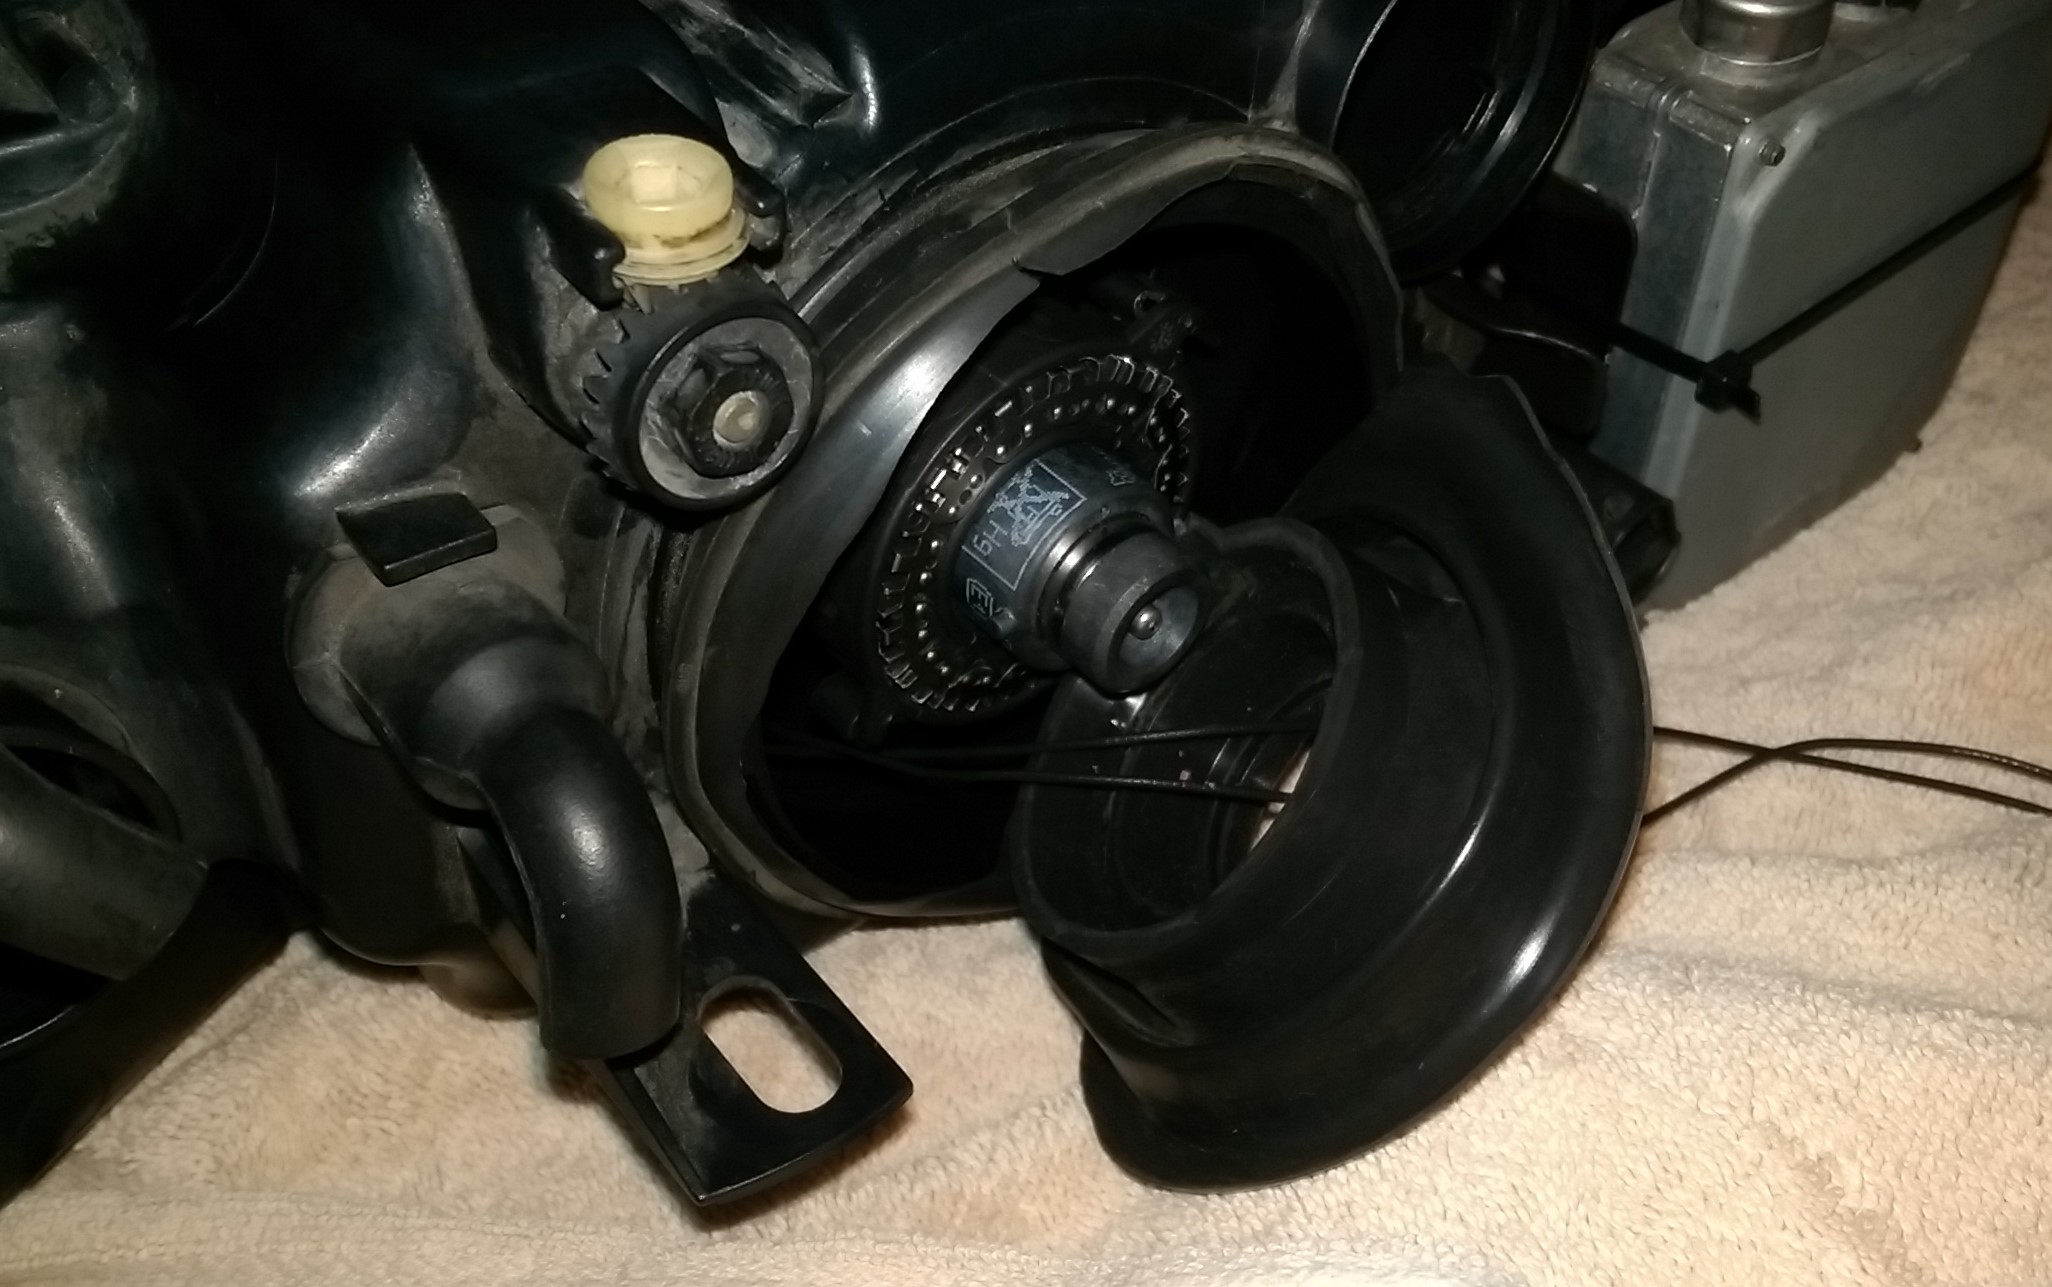
Headlights made after the date cannot be baked open, though some have used a dremel tool. Based on a number of forum discussions, it seems like the change in adhesive happened in June or July of 2002. That was good, since my car was a January 02 build and the headlights were 12/2001. (I found this out by looking at the date stamp on the back, took some time to locate.)
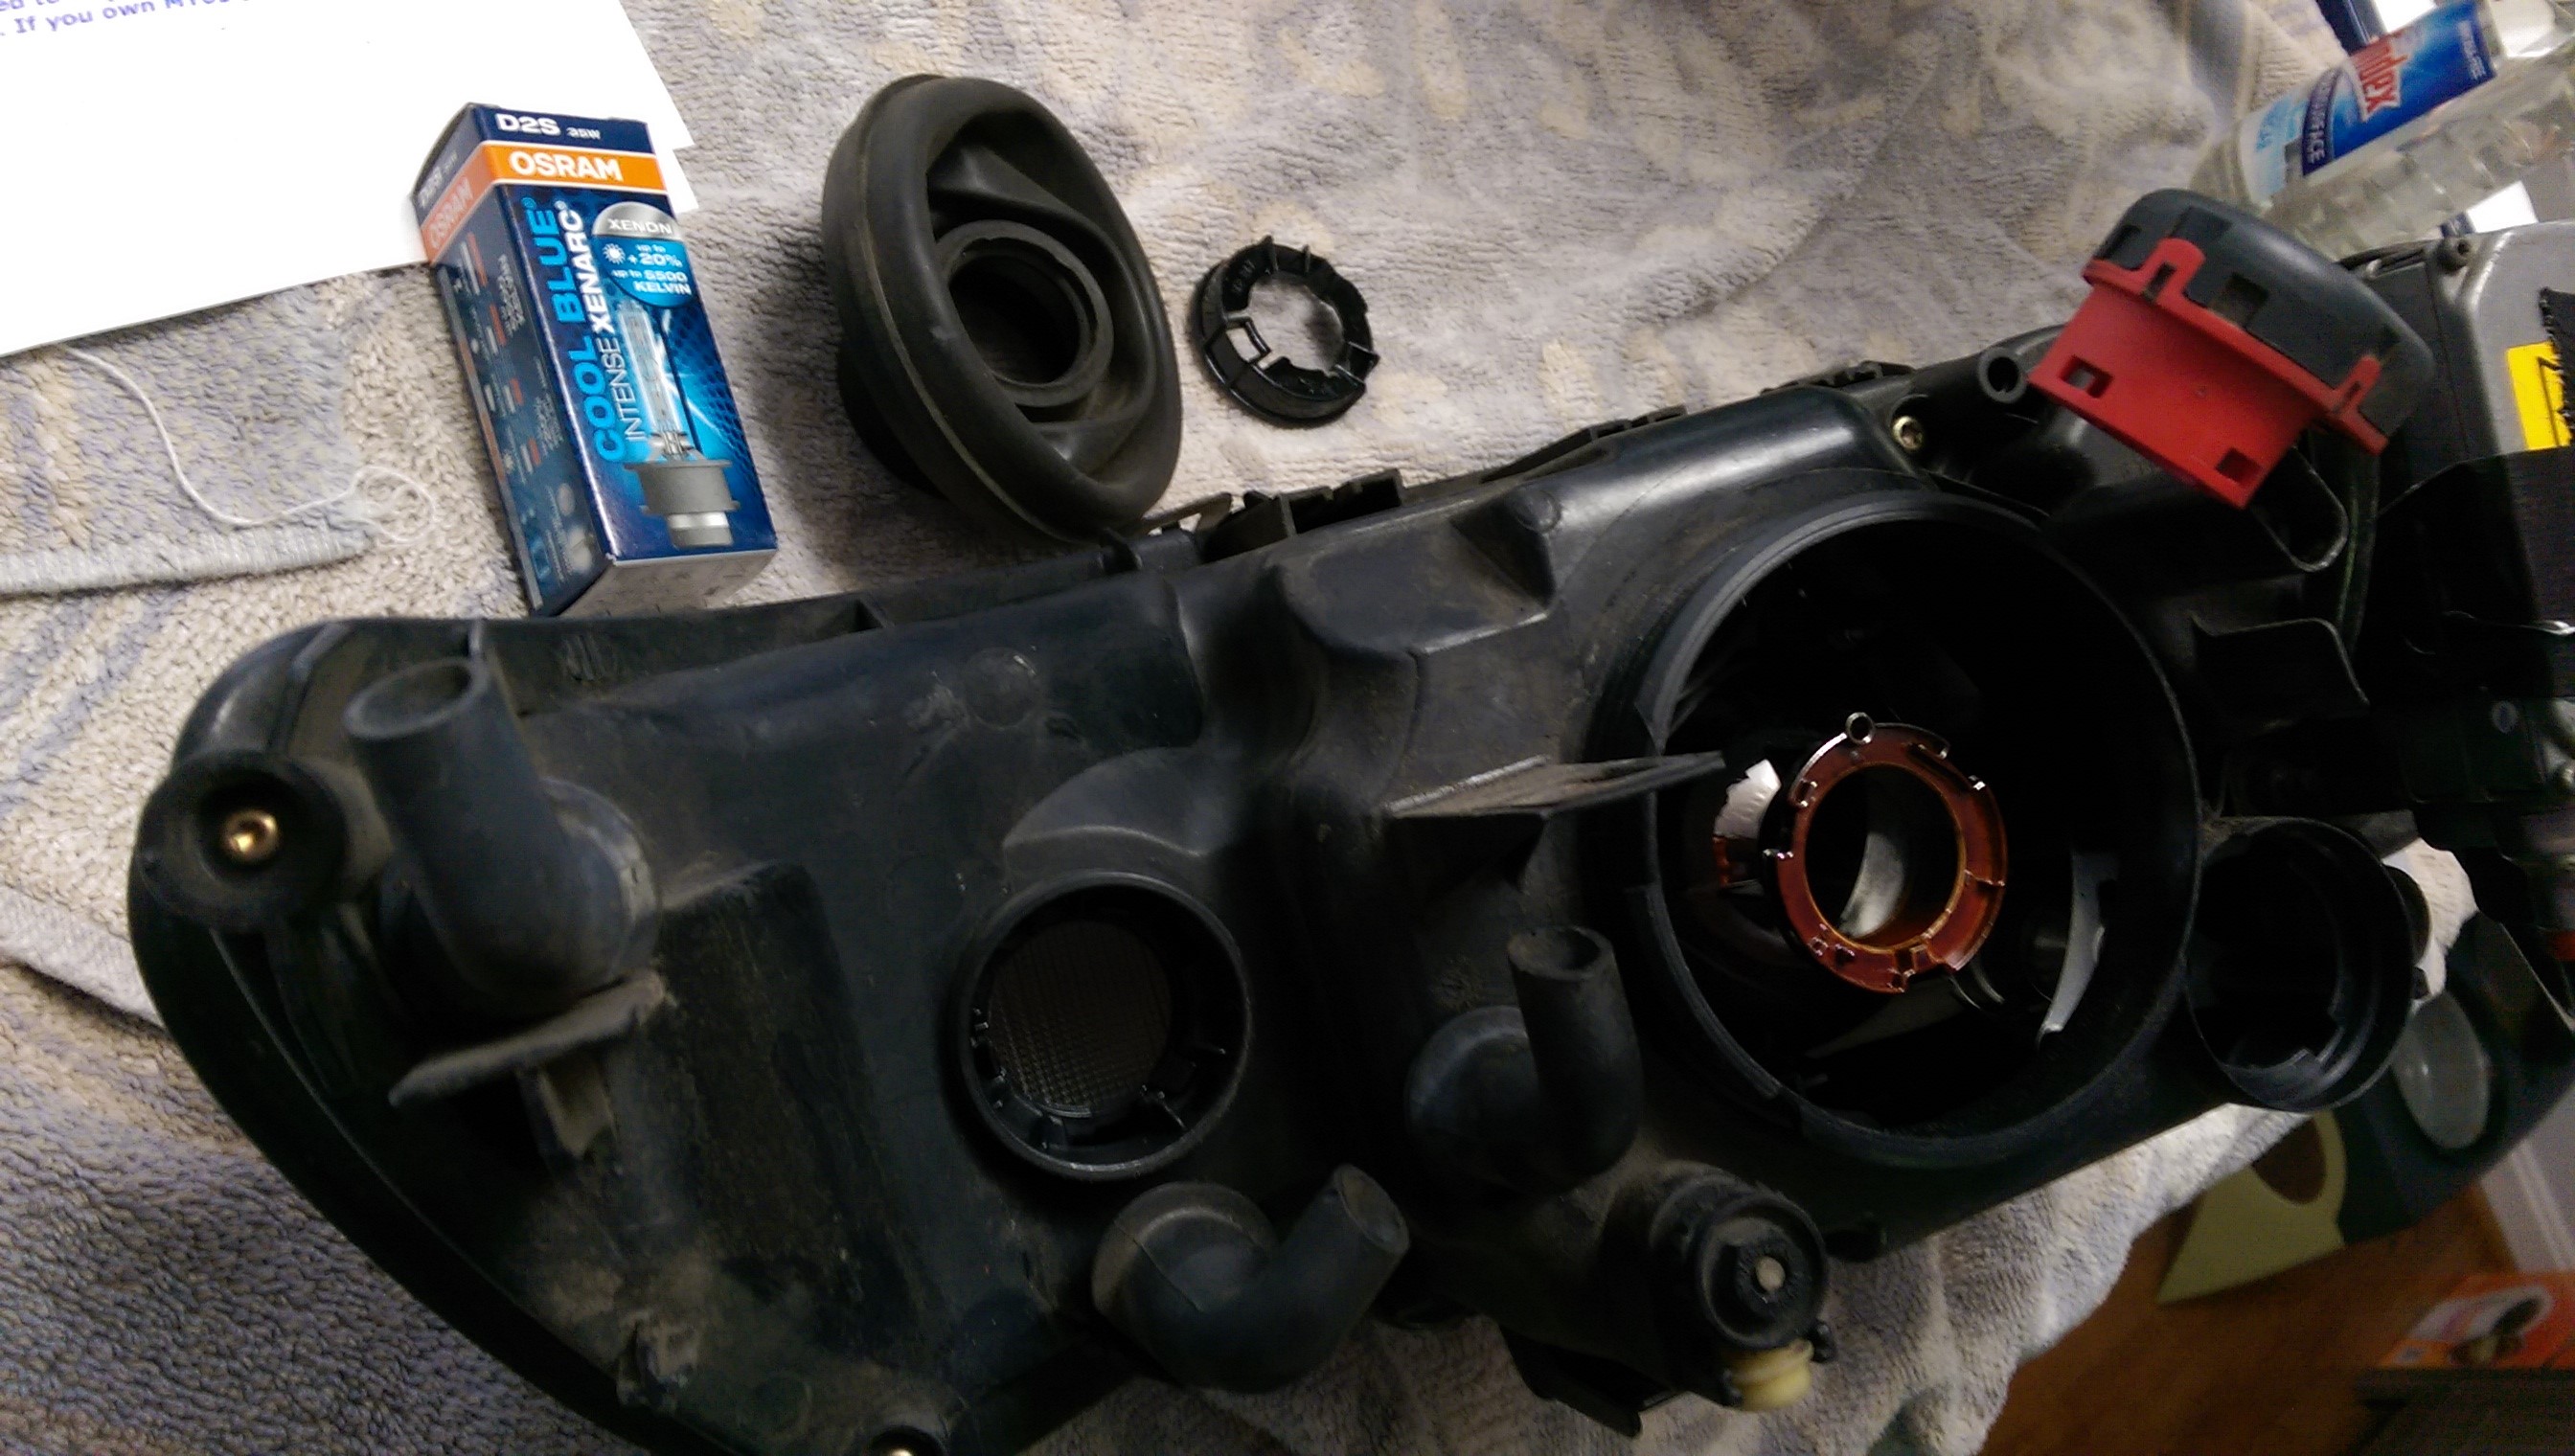
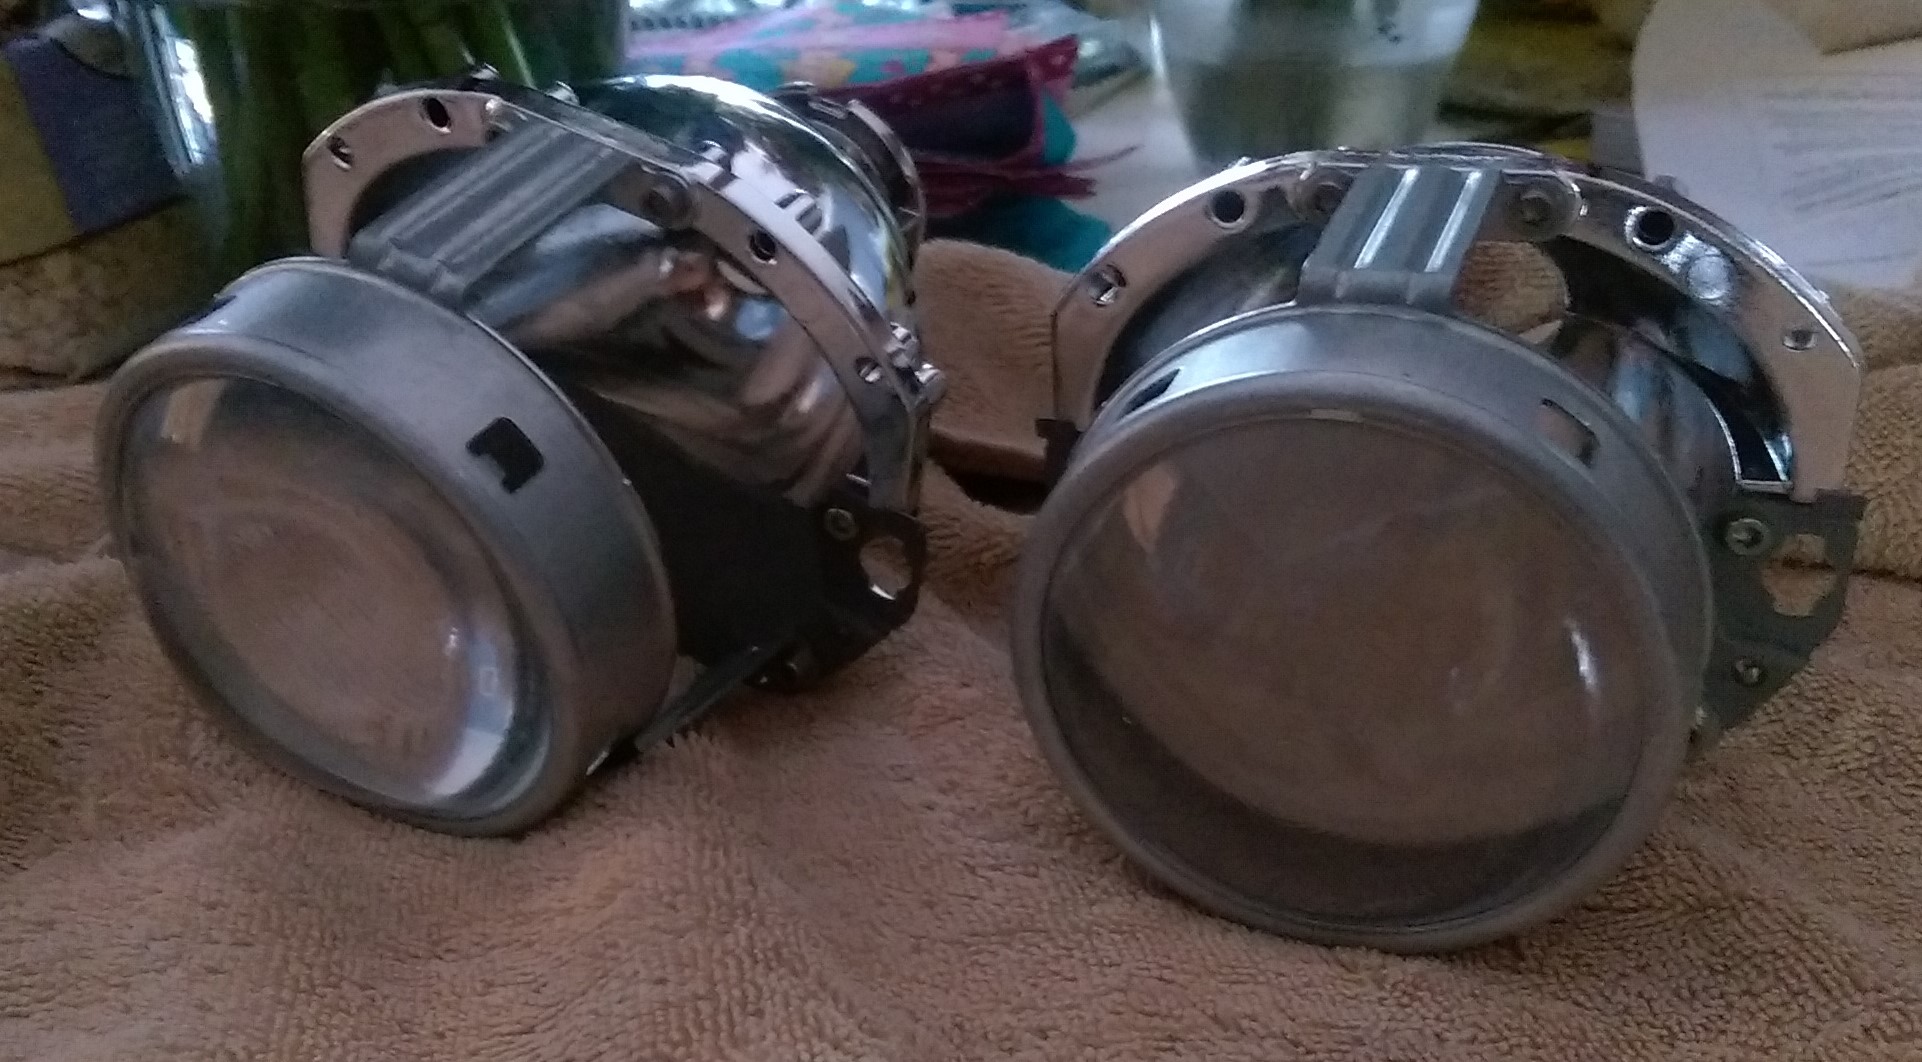
Like many DIY projects, getting the parts was the easiest step. Being a well-documented issue, the aftermarket has come up with some improvements. There are improved adjusters from a company called Odometergears, made from a material called Delrin. From the popular and aptly named site TheRetroFitSource I found replacement Bi-Xenon projectors made by Morimoto that were an exact fit for my headlight assemblies, and at a very reasonable price.
Then I needed to make a decision – was I going to open up the headlights myself? I read about a number of owners who had done it, but there was no single video that showed exactly all I was trying to accomplish. (Here are a couple that show parts of the procedure – adjuster repair and projector swap.) The weekends have been busy, and I could not take time away from consulting work during the week. Finally, I was concerned about messing up – heating and breaking them open, installing the new parts, etc. If I broke something, I’d be stuck buying a brand new set.
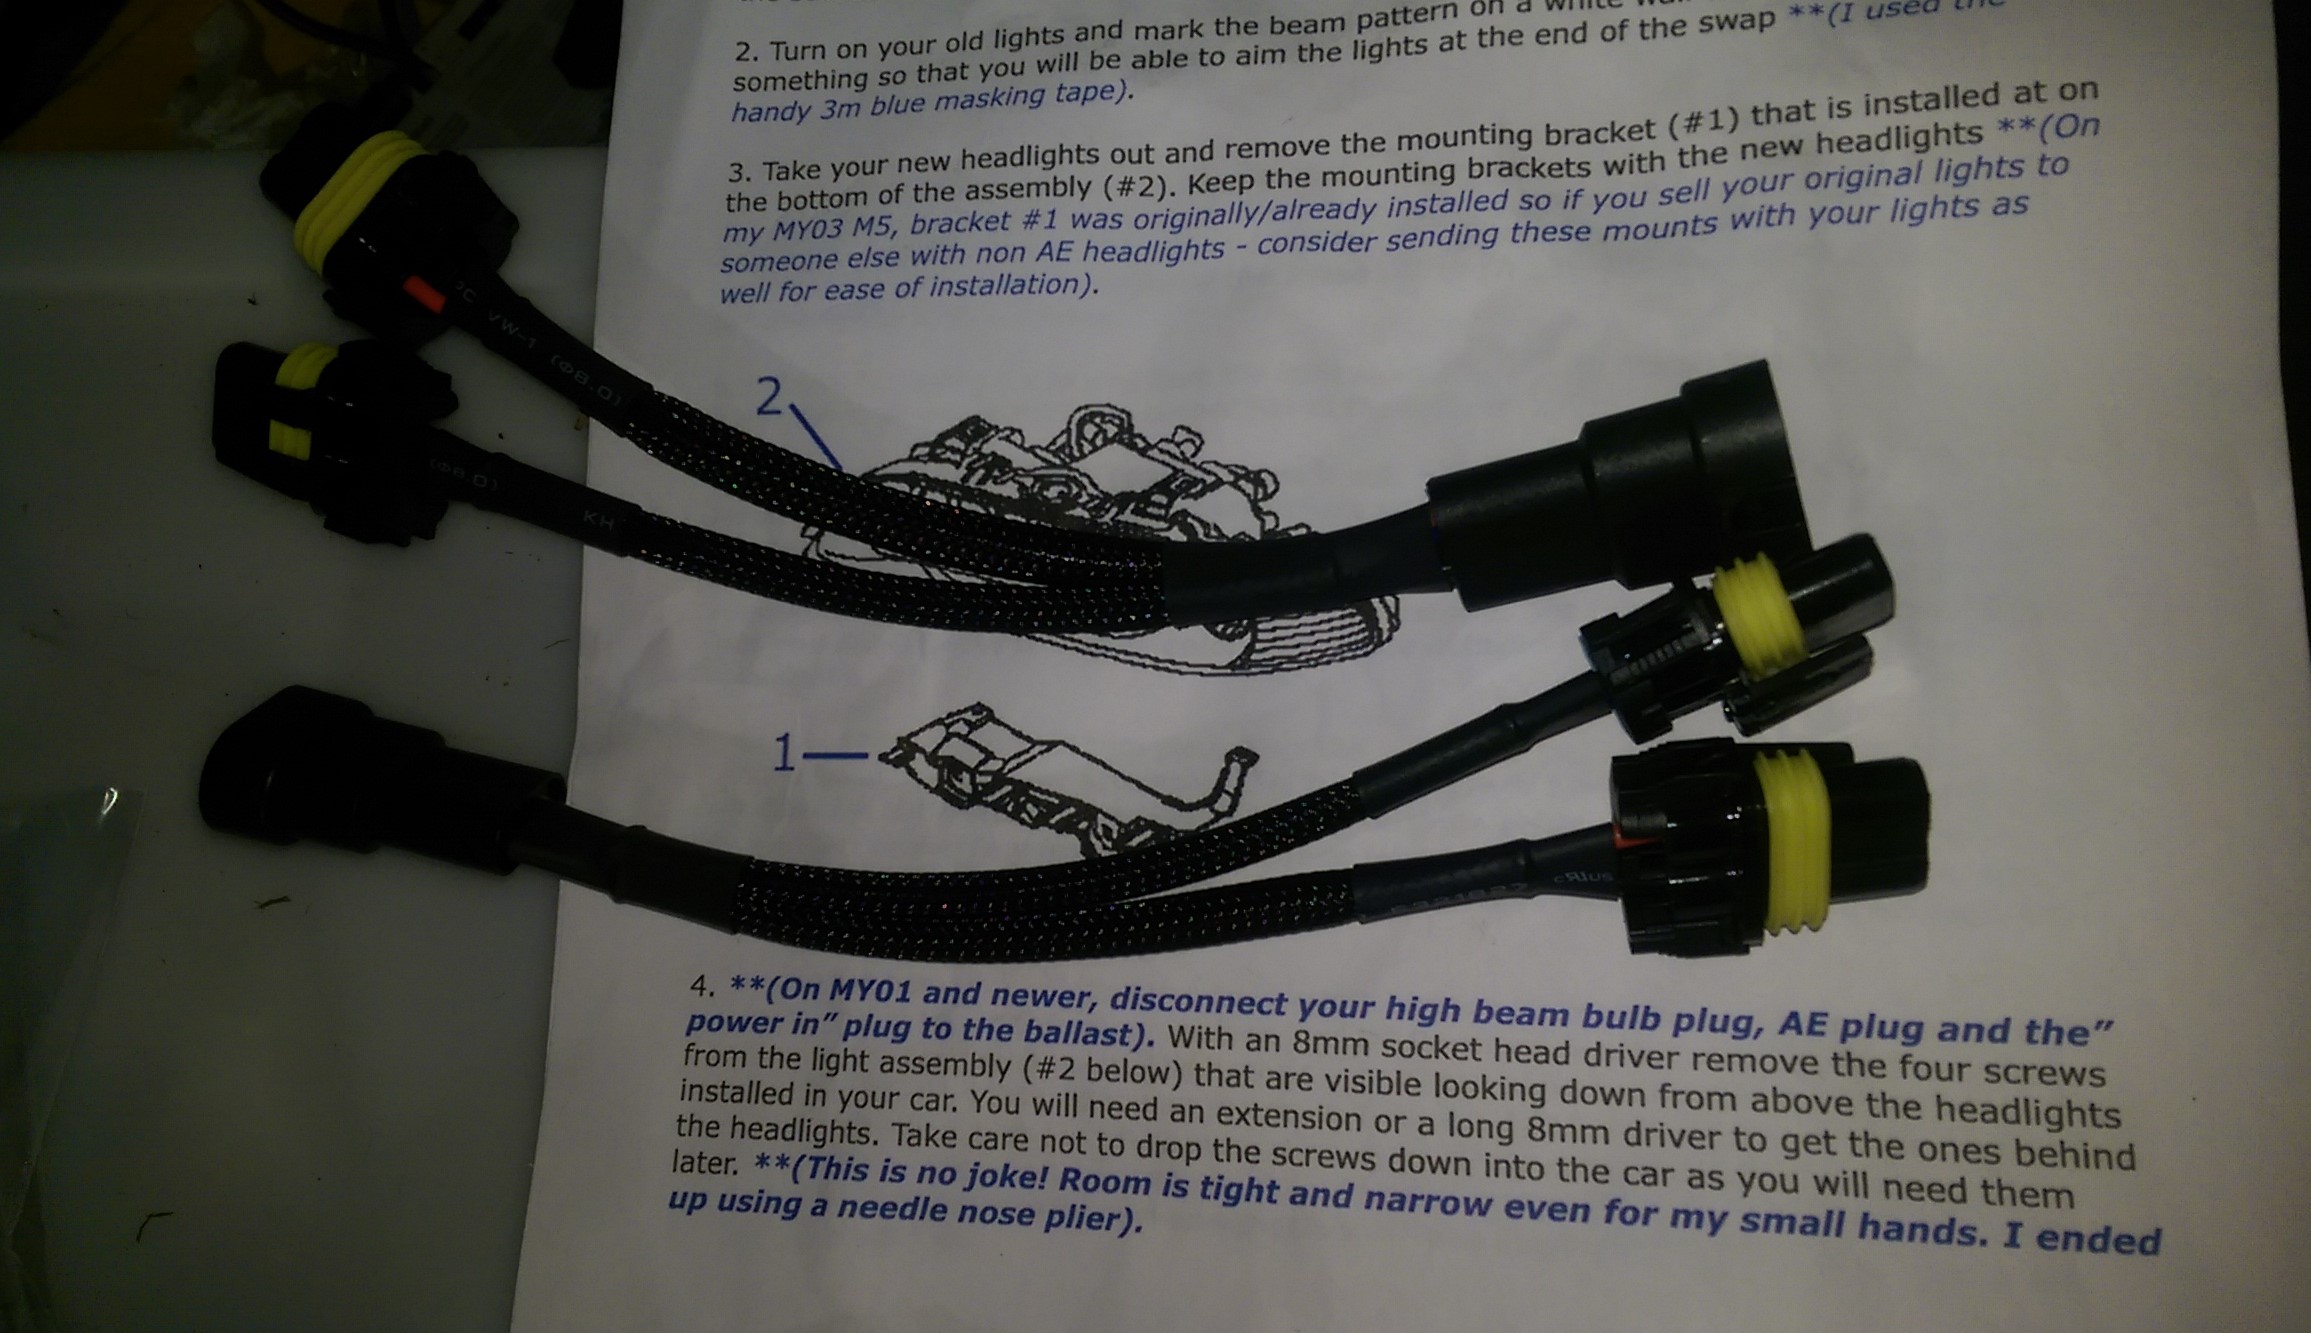
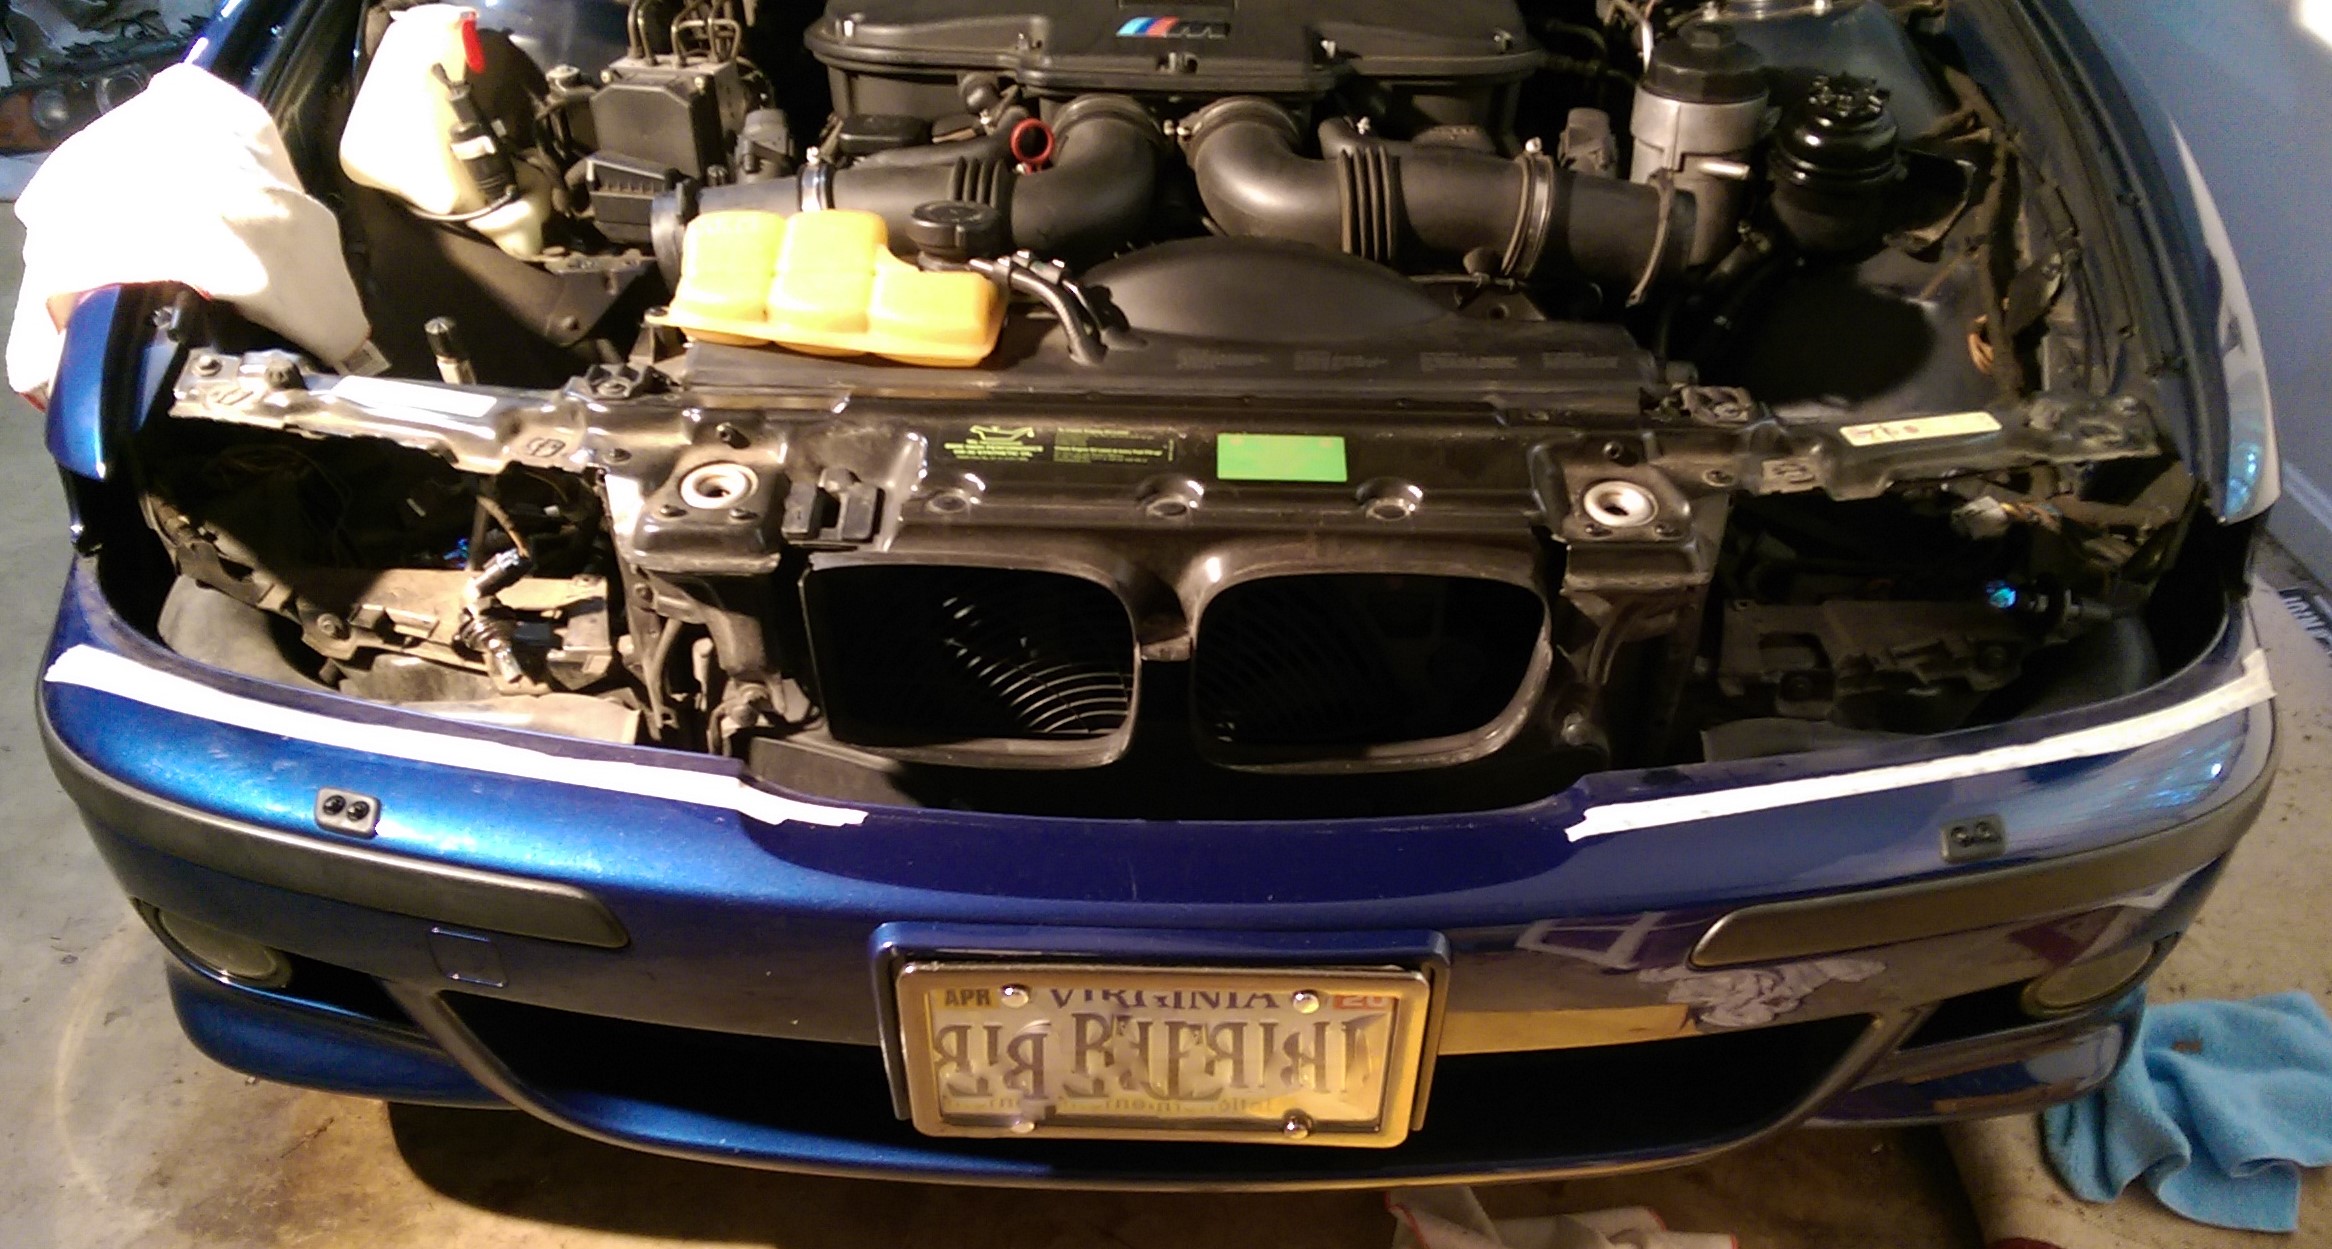
For all those reasons I decided to outsource the assembly work to a shop. I found F3 Auto listed on TheRetroFitSource as a local installer, and went with them. They are located in Chantilly, Virginia. It wasn’t cheap, but still a lot less than a new set of headlights. I maintained a DIY element by removing the headlights myself, which would have been an additional charge. I found excellent instructions on M5Board. Then I dropped the headlights off at their shop on a Monday, picking them up the following Friday.
They did a good job on the retrofit, but they tore one of the rubber shrouds that cover the back of the HID connection. It had to be modified due to the different size opening at the back of the Morimoto projectors. They should either have told me when it happened, or even better ordered me a new one (cheap, $15). Since I didn’t find out until I picked the headlights up Friday afternoon, there was no time to get a replacement. No local dealer had the part in stock. So I had to order it, which was frustrating since that delayed the re-install until the following weekend.
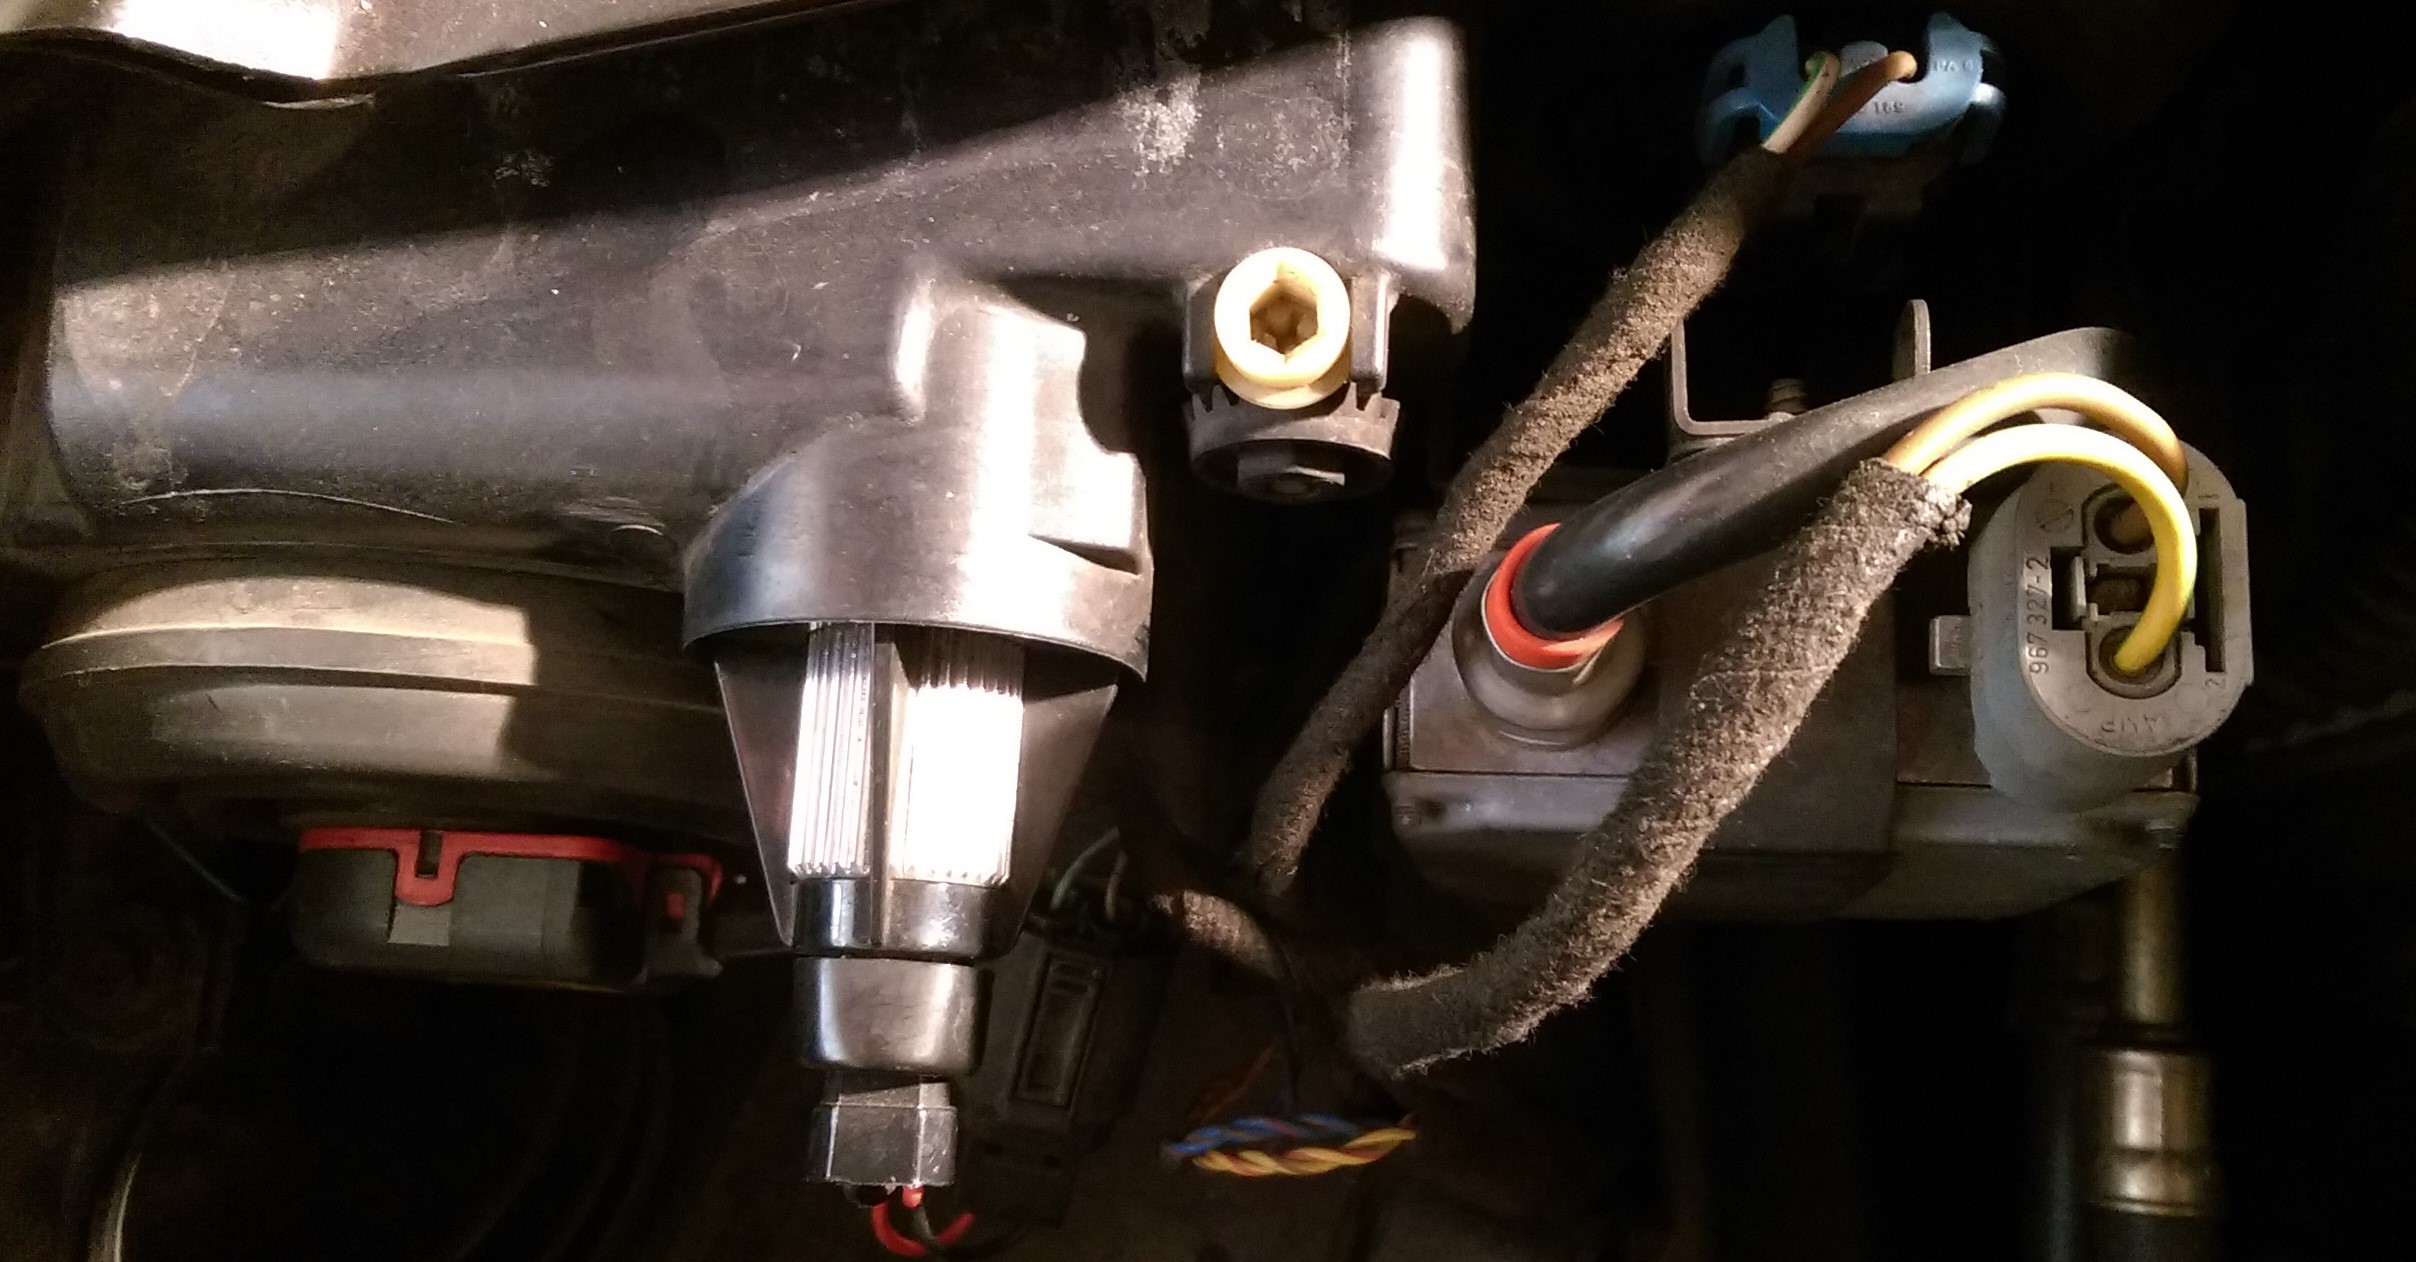
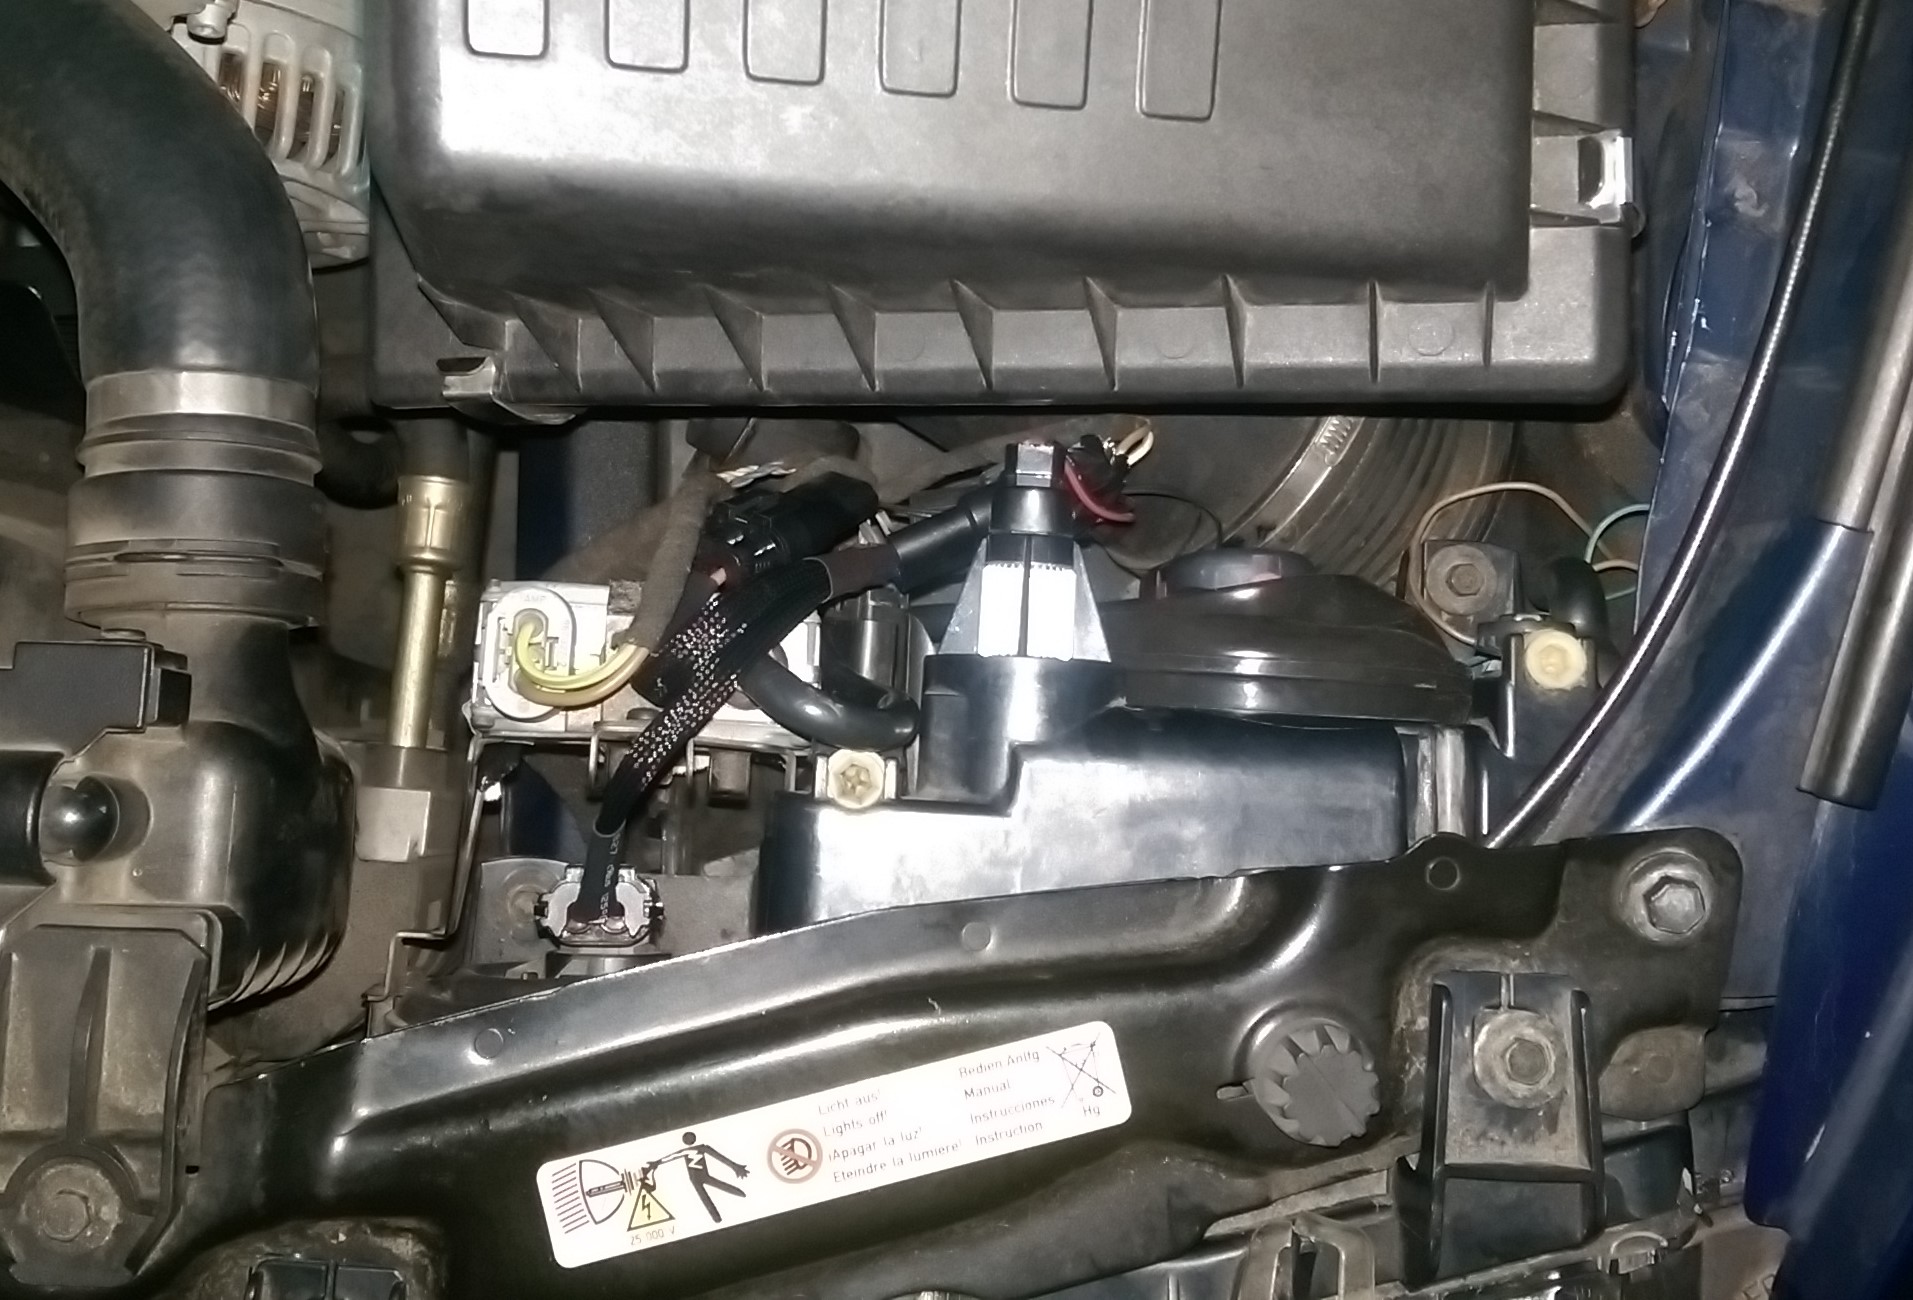
I made the best of the delay by also ordering new gaskets, the rubber fitting on top of each headlight. Over the years they had degraded. Install was relatively easy, I had marked which wires go where and removed the air boxes to create more room. Then I just needed to adjust/aim the headlights, using these instructions.
A few tips if you ever need to do this job:
- It’s easier if you insert the high beam bulb before putting back on car
- Reconnect the turn bulbs before sliding the assembly all the way in, gives you much better access
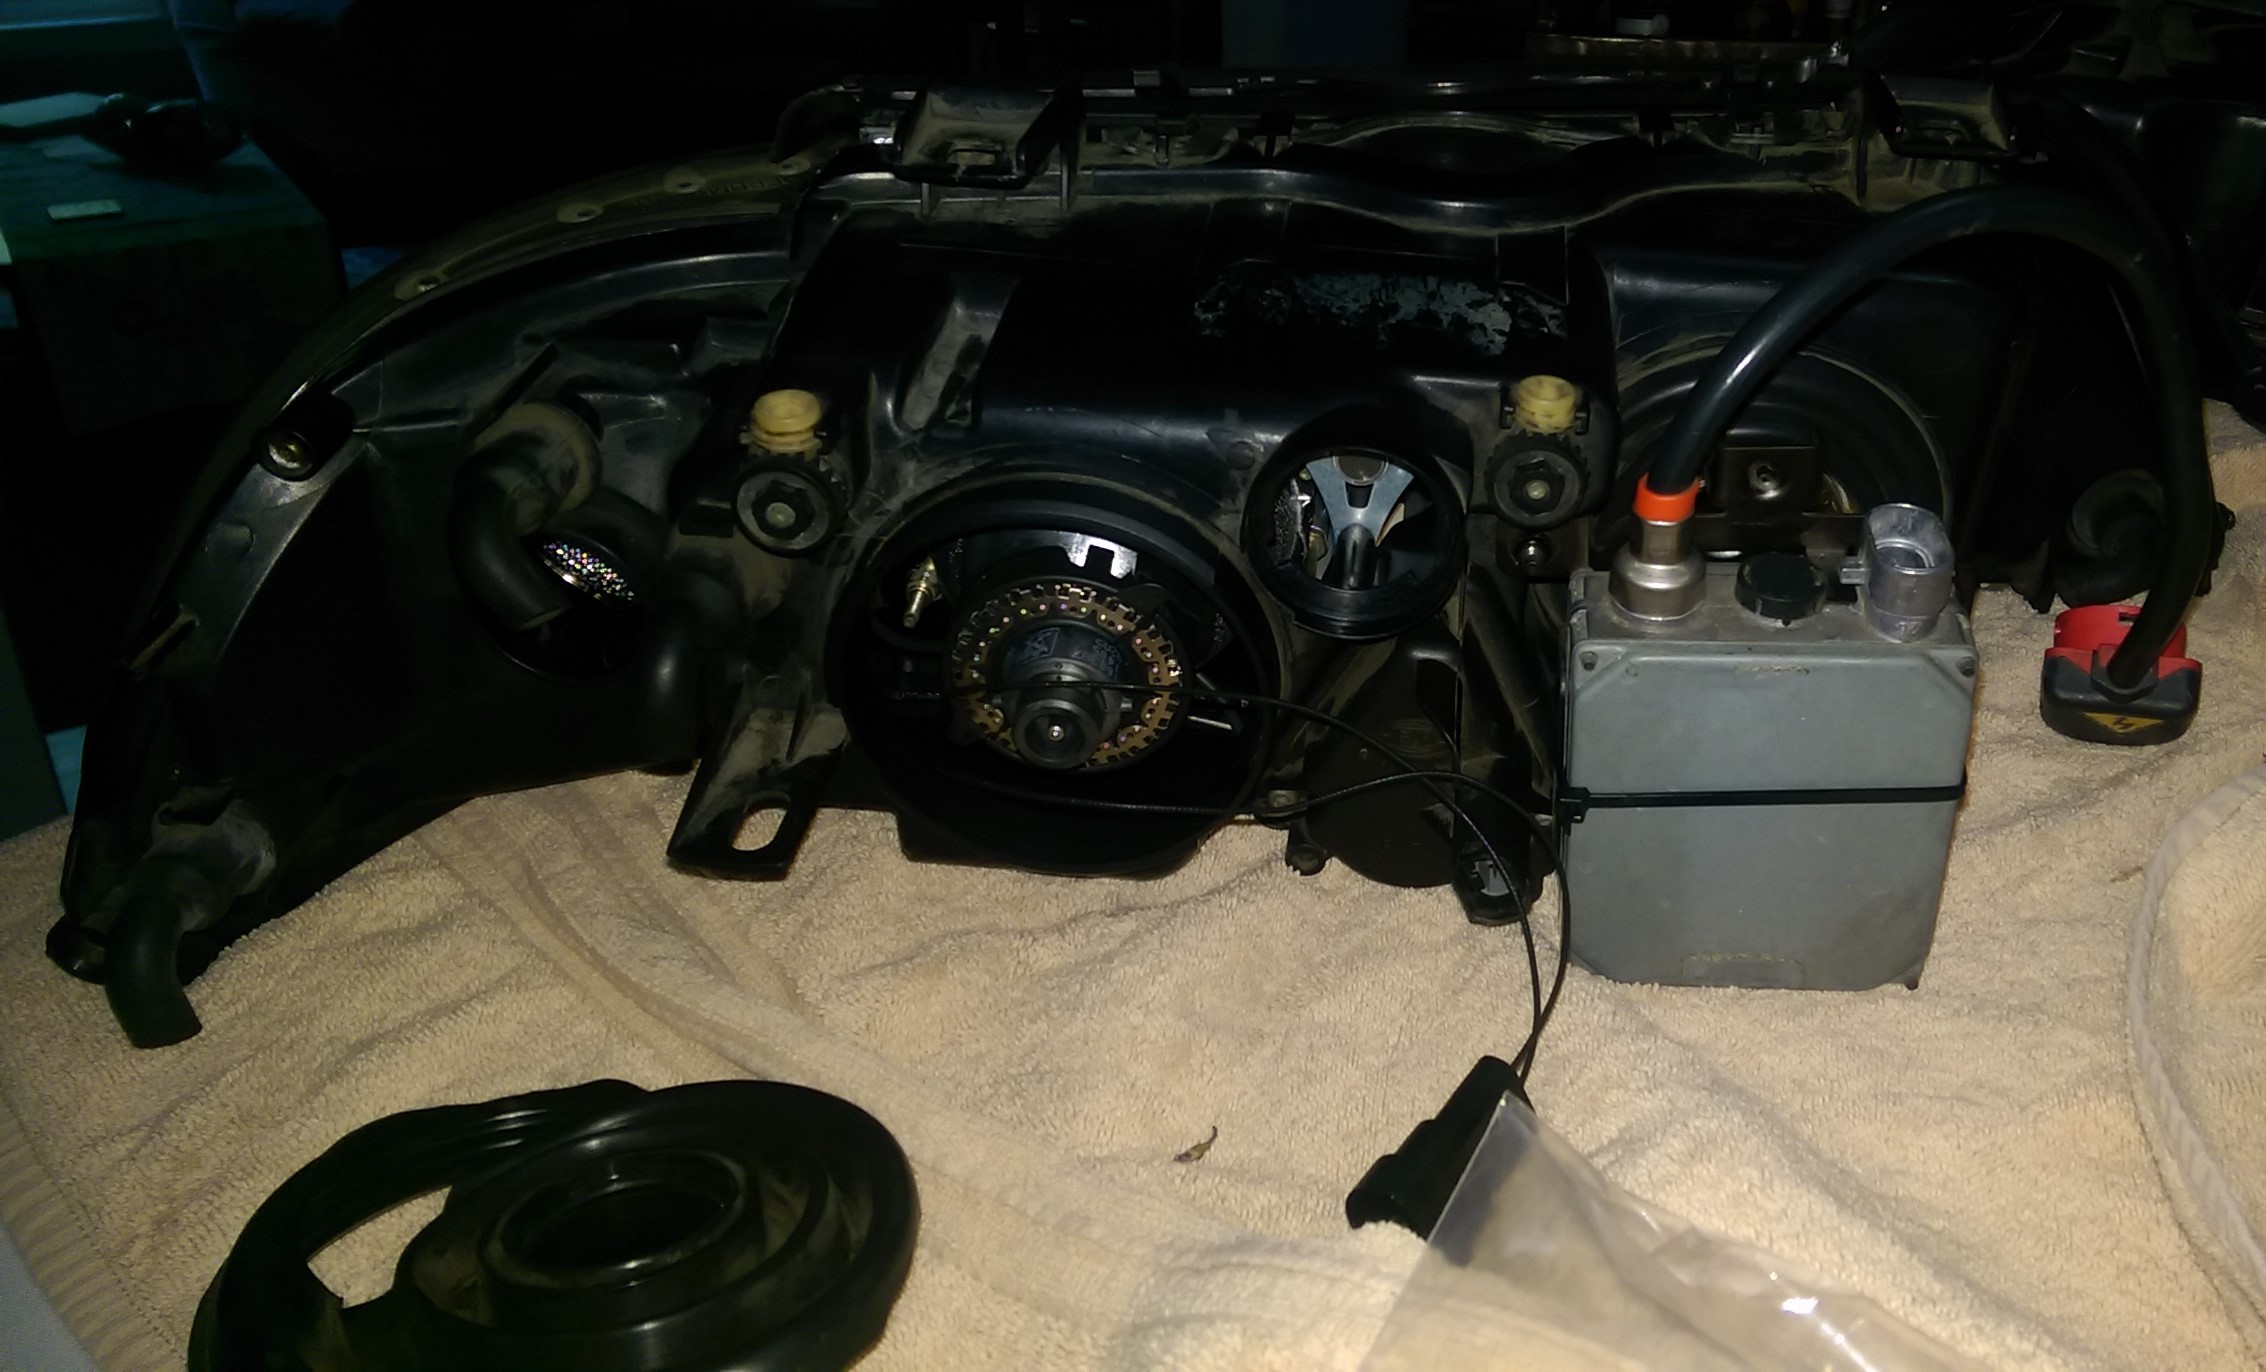
- Check that the two little tubes that are right in front of the small angel eye bulb at the top haven’t been dislodged. During the retrofit one of them had moved too far away, resulting in a dim AE and another trip back to the shop to have it fixed
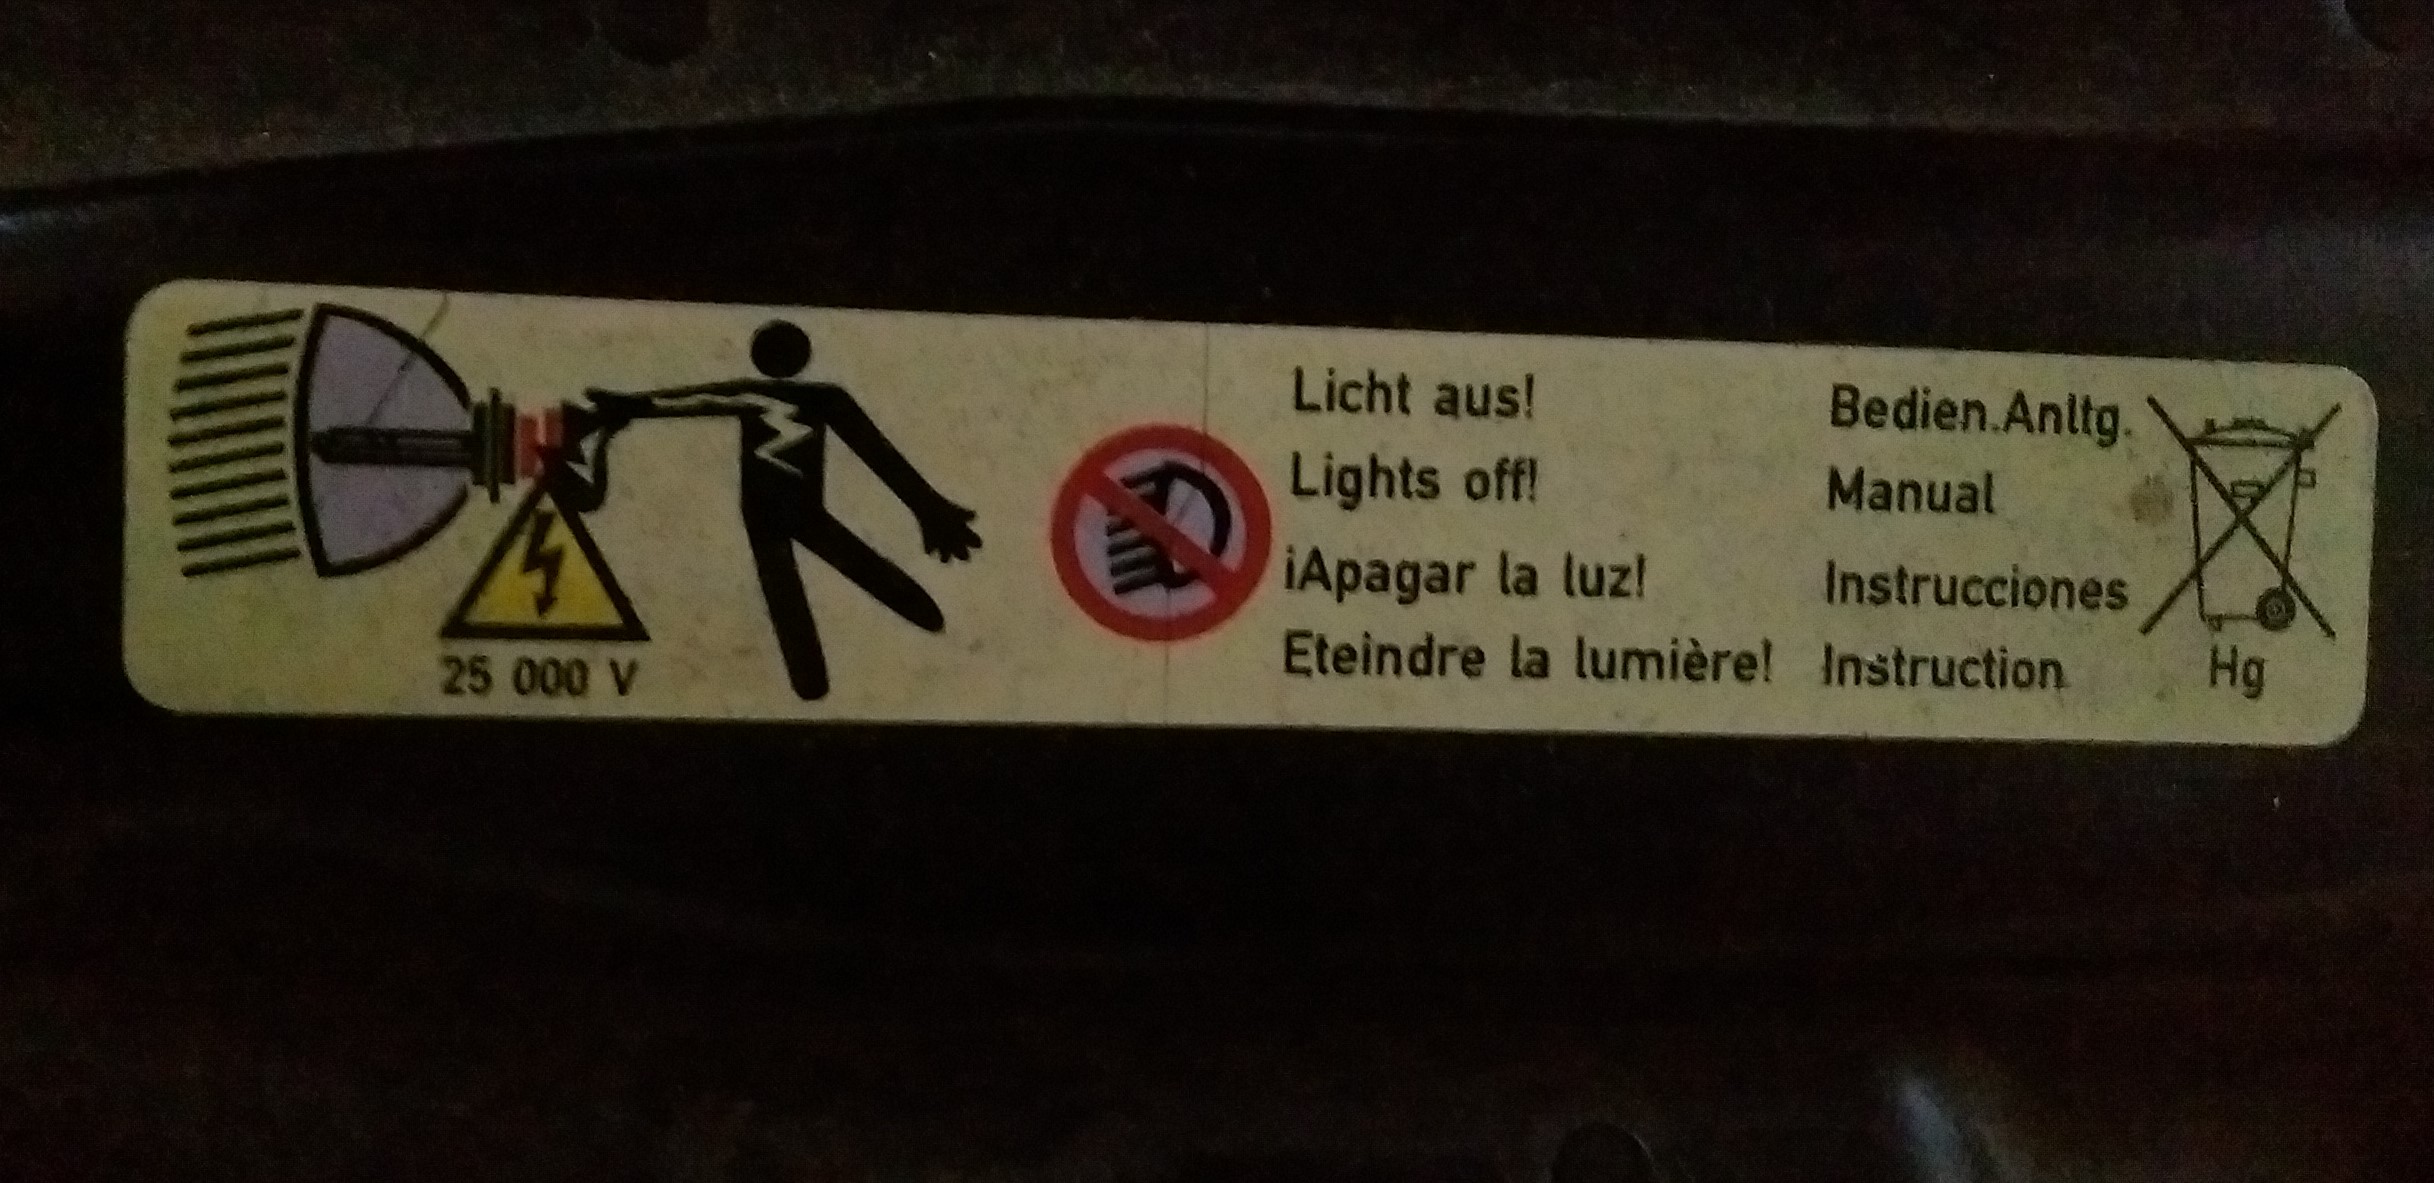
- Secure the ballast – the HID igniter unit – with tape or a zip tie
- Have a magnet tool for the inside, lower securing bolt or you can easily drop it into the engine bay
- All four headlight bolts are 8 mm, but the front ones are thinner and back ones thicker
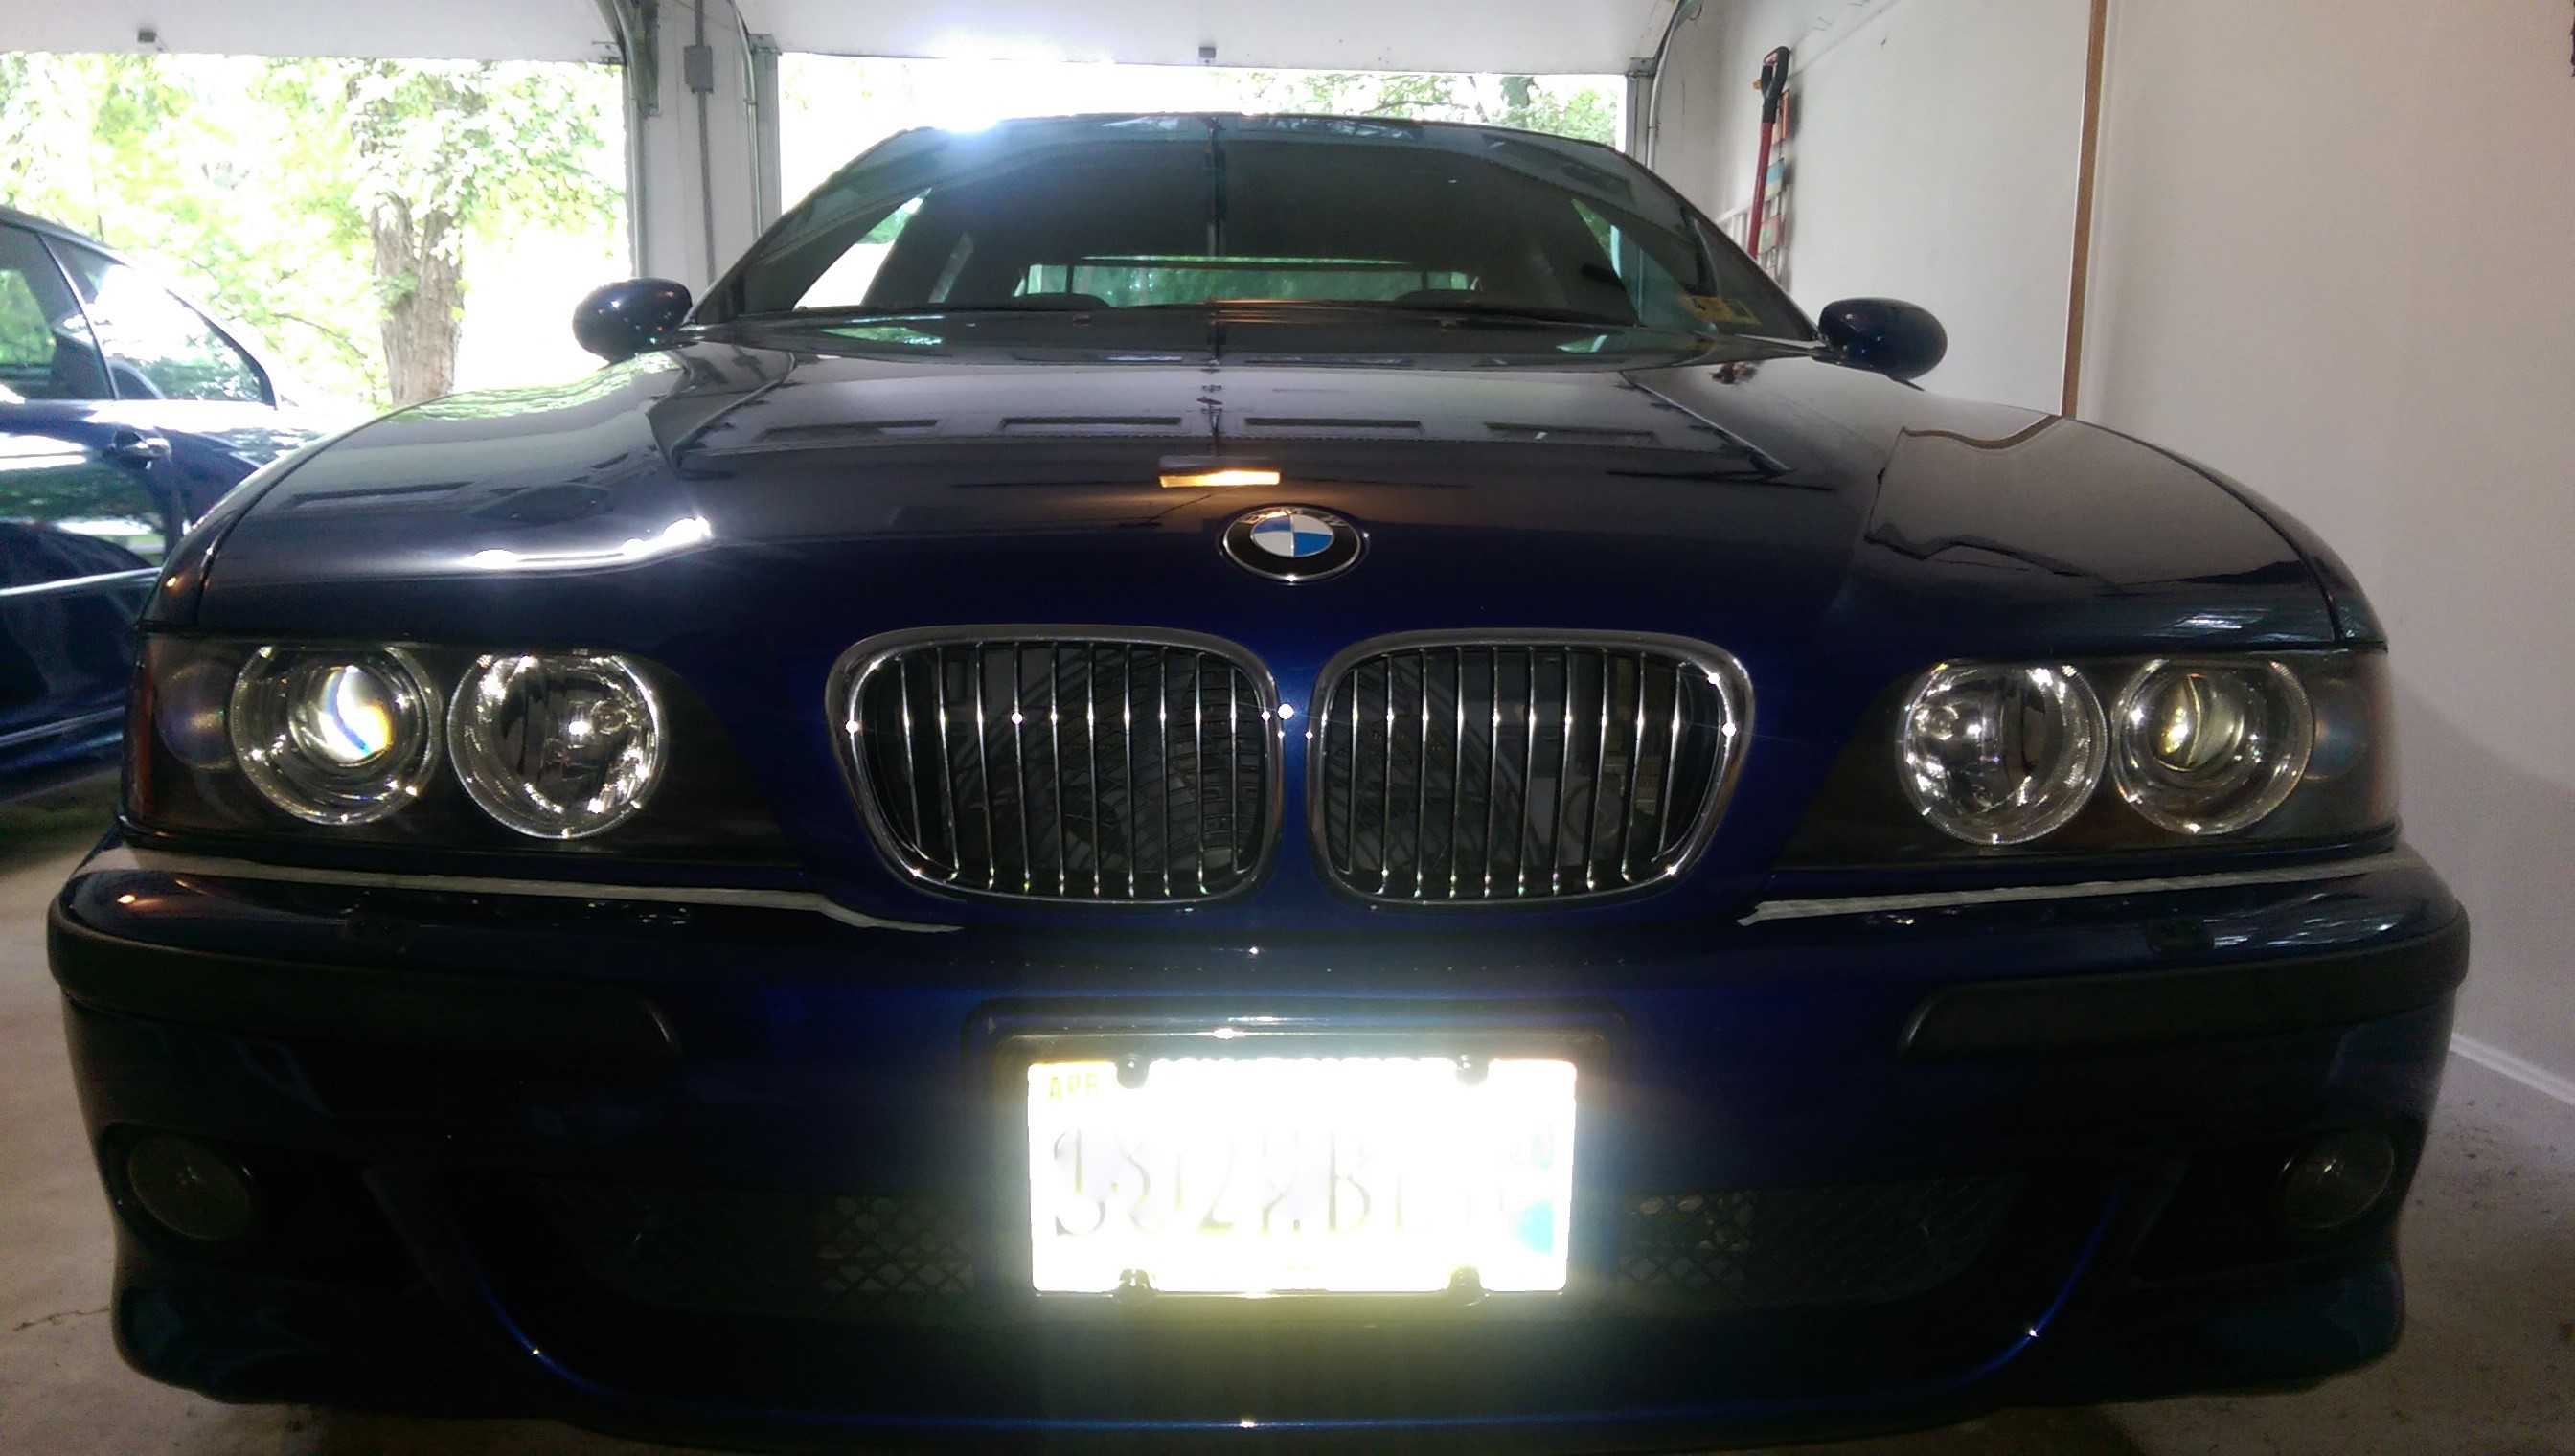
Even with the outsourced labor, I saved over $500 compared to purchasing a new set of OE headlights. The assemblies still look totally stock (because they are), but I have better performance with a crisp light cutoff. The adjusters should not break, and since the new projectors are Bi-Xenon I now have double high beams, the HID highs and the stock H7 bulb halogen highs. This will come in handy on dark nights driving down the George Washington Parkway – with no oncoming traffic of course.
I’m pleased with my headlight retrofit, and glad I didn’t try to tackle it all myself. It takes time, so having another vehicle to drive is a must. You also have to dive into some pretty arcane information – putting your headlights in the oven? – but that’s par for the course with BMW DIY. Click on images to expand.