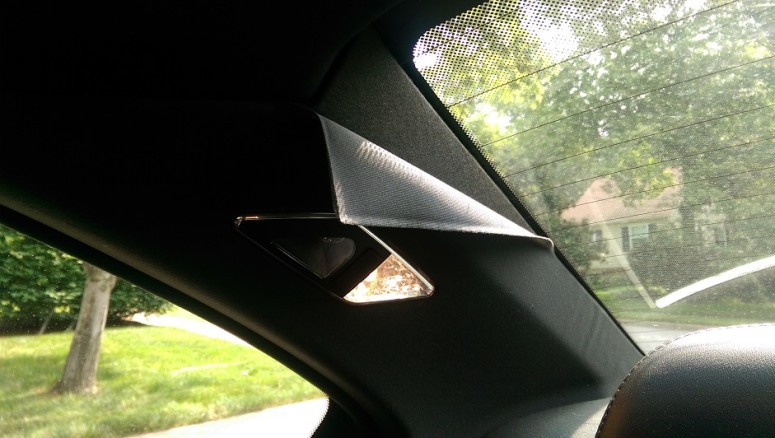
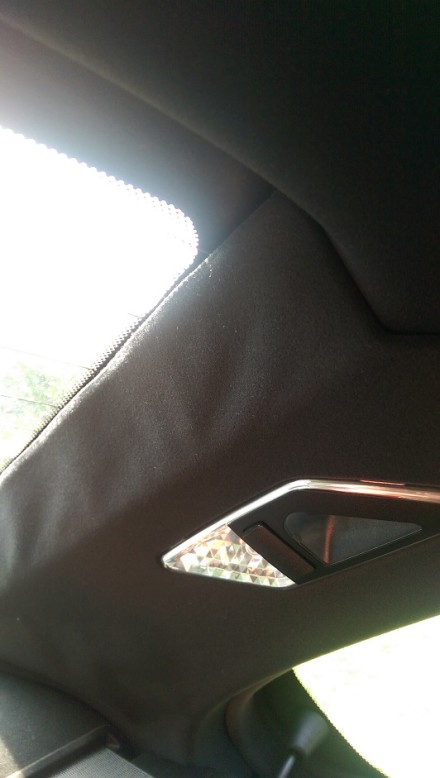
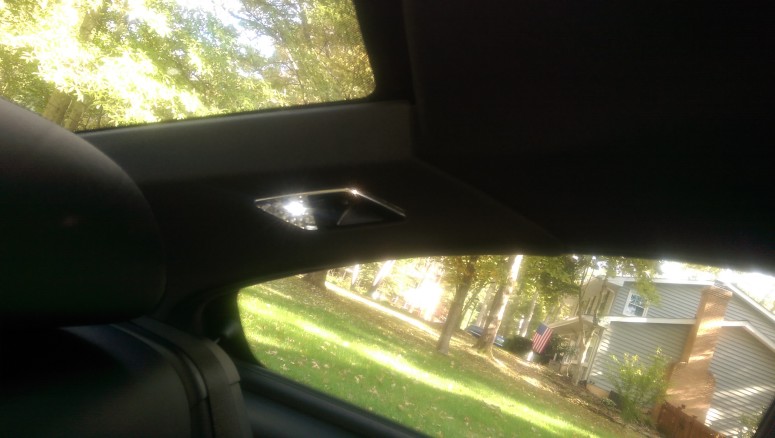
Recently I completed a relatively minor but satisfying DIY on my 2006 BMW E46 M3. This one was a cosmetic repair rather than mechanical. I replaced the C-Pillar trim pieces on both sides, the interior trim between the side rear glass and the rear windshield.
It’s a known issue on the E46 model 3-Series BMWs, cars built roughly between 2000 and 2006. Over time the adhesive used on the interior trim gives way, leaving the fabric “bubbling” and in some cases totally detaching. Some owners try to use an adhesive to fix the problem, but the outer fabric layer is very thin and the glue comes through.
Fortunately the entire trim pieces aren’t ridiculously expensive, though prices seem to have increased in the past couple of years. The best price I could find was $56 each, not too bad by BMW standards. So I decided to replace the pieces rather than mess around with repairing.
Removal and replacement was pretty straightforward, and as usual the wisdom of the crowd showed me the way. This tutorial from E46fanatics.com was right on the money.
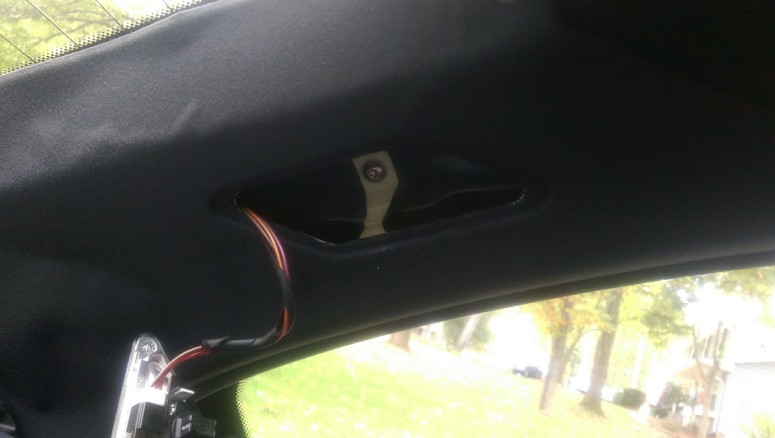
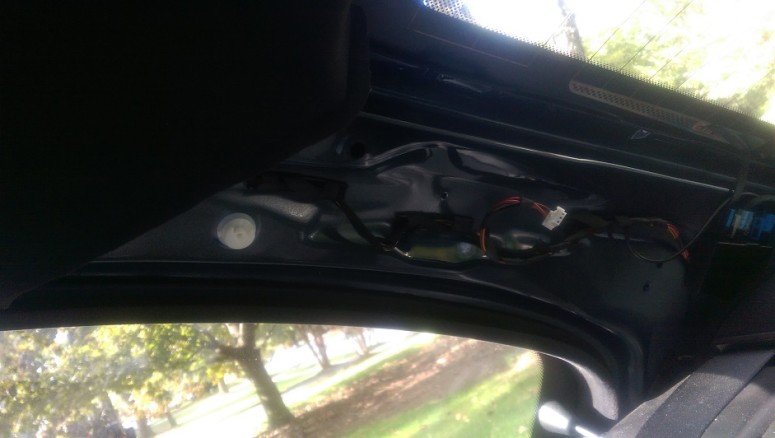
I bought two extra plastic clips in case I broke any in the process, but didn’t need them. The one challenging part was wedging the side light assemblies out without cracking them. The only tools needed are a flat head screwdriver for the light assemblies and a T-25 Torx screwdriver for the one screw that holds the piece in place. Then just break free from the two clips, and reverse the process to replace.
Here’s hoping the next DIY is as easy as this one.
Chris,
We have a blog post DIY on curing bad radio reception in the E46, which has full detailed photos on removing and installing the C-Pillar trims.
http://blog.bavauto.com/10056/bmw-poor-radio-reception-am-and-fm-e46-3-series-and-other-models/
Gordon — thank you, that looks to be an excellent DIY resource. And it’s an honor to have a comment from “Bavarian Otto” on Work, Wine and Wheels!